A panel-ready refrigerator replacement involves more than matching width and height. The cabinet panel, hinges, utilities, ventilation, and delivery path must also work with the new model.
Decide whether repair should be evaluated first
A cooling problem doesn’t automatically mean the refrigerator needs replacement. A technician may find a repairable problem involving a component, door seal, control, or airflow. A diagnosis gives you something concrete to compare against replacement.
Start by recording the model and serial number. Photograph the label instead of copying it from memory. Also note the symptoms, error messages, unusual sounds, and when the trouble began. This information helps a technician identify the correct product documentation.
Check your purchase records and written warranty terms. Coverage varies by manufacturer, model, problem, and service history. Don’t assume an older warranty remains active or that independent work is covered. Ask the manufacturer or warranty administrator to confirm the current terms.
You can also search the exact model through the Consumer Product Safety Commission recall database. A similar model name isn’t enough. Compare the complete model and serial details with the published notice.
If the diagnosis could involve refrigerant or the sealed system, that work requires an EPA Section 608-certified technician. The pros in our network who handle refrigerant work hold the required certification.
Protect the food while deciding. The FDA says refrigerators should remain at or below 40°F. Perishable food held above 40°F should be discarded after two hours, or after one hour when the surrounding temperature exceeds 90°F.
Our refrigerator repair referral service can connect you with a licensed, insured independent technician. For a broader decision framework, read our guide on whether to repair or replace an appliance.
Record the cabinet opening and panel details
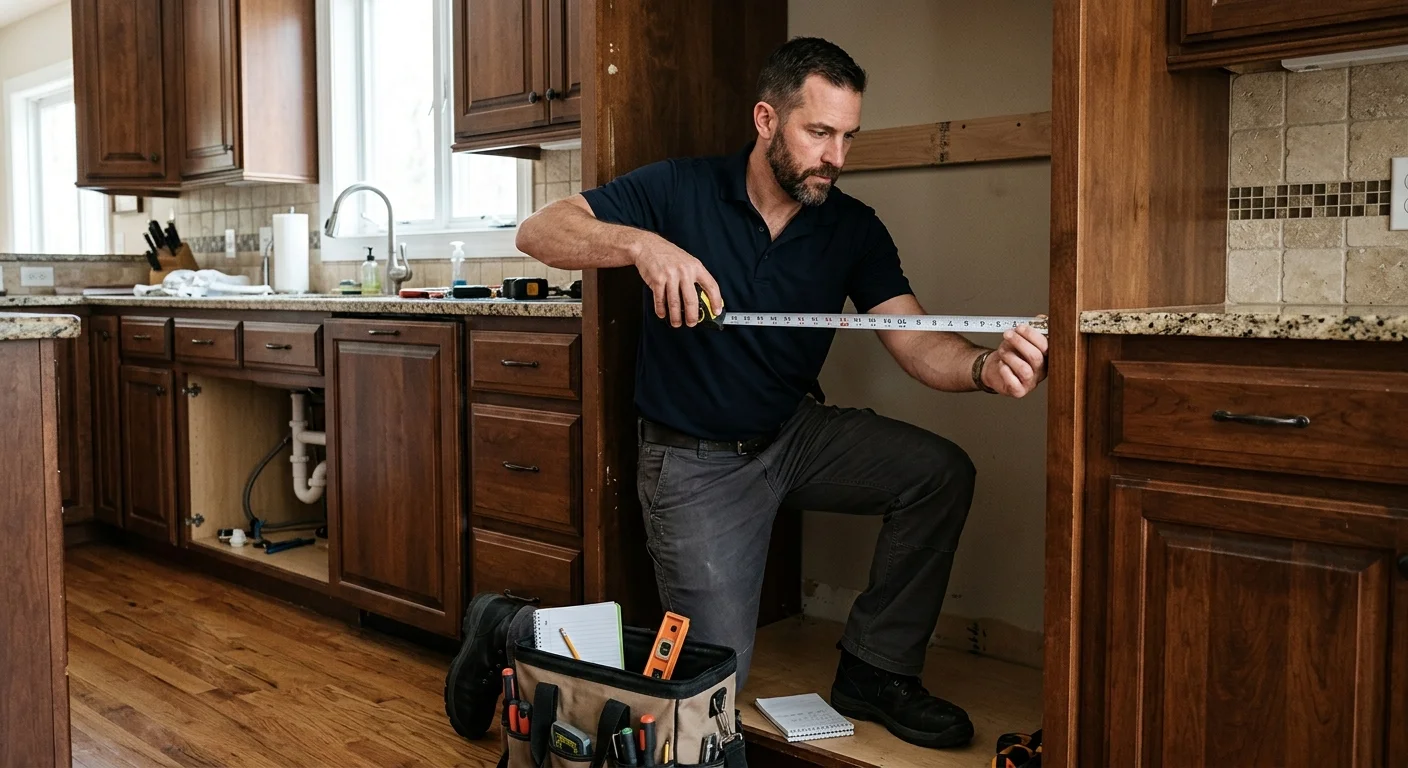
Begin with the opening, not the dimensions listed on a sales page. Measure the width at the top, middle, and bottom. Record the height on both sides and near the center. Measure depth from the cabinet face, then note anything projecting into the opening.
Look for trim, baseboards, flooring transitions, outlets, valves, and countertop overhangs. A replacement can match the nominal opening yet conflict with one of these details. Floors and cabinet walls may also be uneven, especially after several kitchen updates.
Photograph the opening from straight ahead and both sides. Include the floor, toe kick, upper cabinet, and surrounding drawers. Place a tape measure in selected photos so the installer can understand scale. Keep the written measurements as well.
Next, document the existing decorative panel. Record its width, height, thickness, and weight if that information is available. Photograph its edges, handle placement, mounting holes, brackets, and fasteners. Don’t drill new holes before the installer compares the panel with the replacement model’s instructions.
Panel compatibility is model-specific. A similar-looking refrigerator may use different hinge geometry, mounting hardware, or allowable panel dimensions. The manufacturer’s installation guide should confirm whether the existing panel can be reused.
Check the surrounding cabinet style too. An inset door, overlay door, and flush installation create different alignment goals. Record the reveal around nearby doors and drawers. The installer needs to know whether the finished refrigerator should sit flush with the cabinets or project forward.
Door movement matters as much as the closed fit. Note nearby walls, islands, handles, drawers, and countertops. The refrigerator doors must follow the movement shown in the manufacturer’s documentation without striking surrounding surfaces.
Confirm utility and ventilation requirements
Find the installation guide for the exact replacement model. A family brochure or retailer summary may omit important details. Match the full model number before using any drawing, clearance, panel, or utility information.
Compare the guide with the existing electrical location. Record where the outlet sits and whether the plug remains accessible. Don’t assume the existing circuit or outlet arrangement suits the new unit. If electrical changes appear necessary, ask the installer who should evaluate them.
For a refrigerator with water or ice features, locate the water shutoff. Photograph the valve, supply connection, and line route. Note corrosion, kinks, cabinet penetrations, or signs of an old leak. The installer should decide whether existing components can be reused.
Some installations include additional utility details. Confirm every connection against the manufacturer’s instructions. Don’t add a drain, move wiring, or alter plumbing based on another model’s layout.
Ventilation is also specific to the appliance and cabinet design. The intended airflow path may involve areas near the toe kick, sides, back, or top. Don’t treat an open-looking cavity as proof that ventilation is adequate. Ask the installer to compare the opening with the exact installation guide.
Avoid storing trim, insulation, or loose material inside an airflow space. If the old refrigerator shows heat damage, moisture marks, or heavy dust near a vent path, photograph that area before removal.
Rules can change by property and jurisdiction. This page doesn’t confirm whether your address needs a permit or inspection. Ask the building department serving the property about current requirements. Condo owners should also request written HOA or property-management rules before scheduling delivery.
When comparing efficiency information, use the model’s current label and the ENERGY STAR appliance resources. Don’t rely on an unsupported savings estimate from a salesperson or an older product listing.
What an installer checks before replacement
The installer should compare your measurements with the manufacturer’s installation drawing. That review covers more than the refrigerator body. It should include the door movement, hinge area, decorative panel, handle, trim, and required access around the unit.
They’ll also inspect the opening itself. Cabinet walls may be out of square, and floors may slope. Added flooring can reduce available height. A countertop edge or face-frame lip can block movement even when the main opening appears large enough.
Ask the installer to inspect the existing panel and mounting hardware separately. Reusing a panel depends on the new model’s written limits and attachment system. A cabinet shop may need to modify or replace the panel if those details don’t match.
Utility placement comes next. The installer should compare the outlet, plug, water valve, and supply line with the model documentation. Any proposed electrical, plumbing, or cabinet change should be explained before work begins.
Access deserves its own check. Measure exterior doors, hallways, stair landings, elevator doors, and kitchen turns. Remove guesses about whether the appliance can travel upright through the property. The installer or delivery provider should confirm their handling plan.
San Diego properties create very different access problems. A Downtown or Little Italy condo may require loading access and an elevator reservation. A North Park bungalow may have tight porch turns or narrow interior doors. Homes in La Mesa or El Cajon may require checking gates, steps, and the route from the driveway.
Ask who protects floors, moves the old unit, disconnects utilities, and handles disposal. These responsibilities may belong to different parties. Get them in writing before the delivery date.
For premium built-in equipment, our guide to Sub-Zero refrigerator repair in San Diego explains why model-specific diagnosis matters before replacement.
Questions to ask the matched independent installer
Bring a short written checklist to the conversation. It keeps the estimate focused on your actual cabinet and model.
Ask these questions:
- Have you reviewed the exact model’s installation guide?
- Does the cabinet opening match every required dimension?
- Can the current decorative panel be reused without unapproved changes?
- Are its thickness, weight, hardware, and handle placement compatible?
- Will the doors open as intended near walls, drawers, and islands?
- Does the existing floor affect height, leveling, or removal?
- Are the outlet and water connection in acceptable locations?
- Does the cabinet preserve the model’s stated ventilation path?
- Is manufacturer-specified anchoring or anti-tip hardware involved?
- Who handles panel work, trim work, plumbing, or electrical changes?
- Who removes the old refrigerator and packaging?
- What must the homeowner or HOA arrange before delivery?
- What written warranty applies to the installer’s own work?
- What happens if the unit or panel doesn’t fit on arrival?
Ask for a written scope that identifies exclusions. It should distinguish appliance installation from cabinet fabrication, finish carpentry, plumbing changes, electrical work, delivery, and disposal. Don’t rely on a general statement that installation is included.
Pricing should follow the same principle. Repair Pro San Diego has no fee schedule. The matched technician or installer diagnoses the situation and provides a written quote before work begins. Ask whether diagnosis, removal, panel work, utilities, and disposal appear as separate items.
Verify a California appliance repair business through the Department of Consumer Affairs lookup. That lookup confirms registration status, not an individual technician’s skill with your model. Ask directly about recent experience with panel-ready refrigerator installation.
Repair Pro San Diego can arrange a referral for appliance installation and hookup. The matched independent professional evaluates the site and performs any approved work.
When to call us
Call when a panel-ready refrigerator needs diagnosis, removal planning, or a model-specific fit review from a licensed, insured local appliance professional. Call (858) 988-7787 to leave a voicemail requesting a match with a local appliance repair pro.