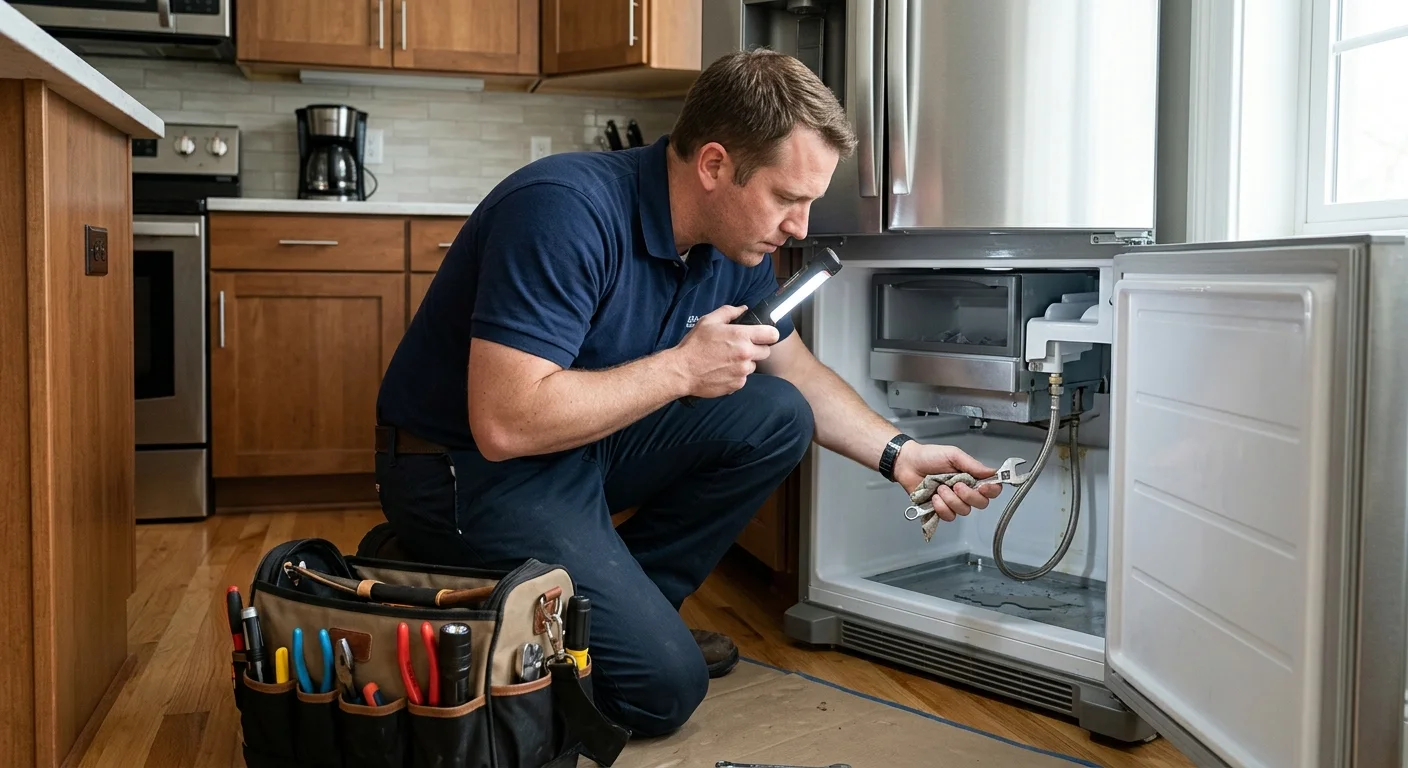
Water beneath the ice bin, down the freezer wall, or across the floor may appear to come from the same place. An ice maker leaking water needs careful observation before anyone guesses at a failed part. Photograph the water before cleanup, then use the model manual for any shutdown steps.
Identify where the ice maker is leaking
Start by recording the first place you can actually see water. Don’t move the refrigerator or remove panels to hunt for a hidden source. The visible edge of the leak gives the technician a useful starting point.
Look inside the freezer first. Note whether water appears beneath the ice maker, inside the bin, along a side wall, or below a shelf. Check whether the ice has frozen into a single mass. Water marks, wet packaging, and new frost may also help define the affected area.
Next, look around the dispenser and the refrigerator exterior. Record moisture at the dispenser opening, below the doors, beside the cabinet, or behind the accessible front edge. A floor puddle doesn’t prove the ice maker caused it. Water can travel before it becomes visible.
Timing matters too. Write down whether dripping starts while you hear the ice maker operate, after someone uses the dispenser, after a door opens, or without an obvious trigger. Don’t run repeated test cycles. One clear observation is more useful than several undocumented attempts.
If the source seems outside the ice-making area, compare the symptom with our guide to a refrigerator leaking water. That broader problem can involve areas unrelated to ice production.
Use the refrigerator’s own manual for water or power controls. Procedures vary by model, so a generic shutdown sequence isn’t a reliable substitute. If you can’t identify or reach the documented control, tell the technician what remains active.
Check the model and recent changes
Record the refrigerator’s brand, full model number, and serial number. Use the owner’s manual to locate the product label. A partial model name from the door badge usually isn’t enough for model-specific service information.
Take a clear photo of the label. Also photograph the control panel and any displayed message or code. Write the characters exactly as shown. Don’t translate a code into a diagnosis unless the manufacturer documentation does so.
Recent changes belong in the same record. Note whether someone recently:
- Replaced or removed the water filter
- Moved or leveled the refrigerator
- Removed and reinstalled the ice bin
- Changed an ice maker or temperature setting
- Had plumbing or building water service performed
- Noticed a power interruption
These events don’t establish the cause. They help the technician compare the leak’s start with changes around the appliance.
Location and access details also matter. A downtown San Diego condo may have a different water-shutoff arrangement than a detached home in La Mesa. An Oceanside garage installation may offer different access than a narrow kitchen alcove. Tell the technician where the refrigerator sits and what blocks its sides or rear.
Check the manufacturer’s support page for the exact model. Have the model information ready when you check for any manufacturer notices. Don’t assume that a similar-looking refrigerator shares the same components, service steps, or notices.
What technicians inspect around the water path
A technician starts with the reported location and traces the moisture back toward its source. The model’s documentation determines the exact water path and test procedure. There isn’t one inspection sequence that applies to every refrigerator.
Depending on the design, the inspection may cover the accessible household supply connection, external water line, refrigerator inlet area, internal tubing, fittings, and the ice maker’s fill area. The technician may also inspect the bin, dispenser area, nearby compartments, cabinet edges, and floor. That wider view helps separate an ice maker water leak from water merely appearing near it.
The technician will compare wet areas with dry ones. Photos taken before cleanup can preserve details that later disappear. The timing record can also show whether the leak appears during an operating event or while the appliance seems idle.
Water-pressure requirements must come from the model’s manufacturer material. No single pressure figure applying to every ice maker could be confirmed in the approved sources for this article. If the documentation gives a range, the technician can test the appliance against that stated range.
The same limit applies to valve readings, fill duration, and other service measurements. Those values shouldn’t be guessed or borrowed from a different model. A technician may use the manufacturer’s service procedure to evaluate the inlet area and observe an authorized cycle.
California requires appliance repair businesses to register with the Bureau of Household Goods and Services. Consumers can check a business through the state’s Department of Consumer Affairs lookup. That registration is separate from proof of technical competency, so ask who will perform the diagnosis and what model information they need.
How leaks differ from no-ice problems
A leak investigation follows visible water. A no-ice investigation starts with missing or reduced ice production. Those symptoms can overlap, but they don’t describe the same problem.
For a leak, the strongest notes describe where the water appears and when it returns. Useful details include a wet bin, water dripping from the ice maker area, frozen clumps, streaks on an interior wall, or moisture beneath the refrigerator. Record the observation without assigning a cause.
For a no-ice complaint, the important symptom may be an empty bin, unusually slow production, or an ice maker that doesn’t appear to complete its normal operation. Our ice maker not making ice guide explains how to organize those observations separately.
Don’t let an empty bin erase evidence of a leak. Ice may have been removed during cleanup, or production may have changed after the leaking began. Likewise, a puddle near the refrigerator doesn’t establish that the ice maker is responsible.
Keep dispenser symptoms separate when possible. Record whether the water dispenser operates, whether moisture appears around its opening, and whether the ice dispenser behaves differently. These are observations for the technician, not at-home part tests.
A simple written timeline prevents the complaint from becoming “it sometimes leaks.” Include the first date noticed, the visible location, the operating event, and whether cleanup was followed by another leak. That gives the matched technician a clearer symptom to reproduce and inspect.
When to request ice maker repair
Request professional diagnosis when water returns after cleanup, the source stays hidden, or the leak reaches cabinetry or flooring. Service also makes sense when manufacturer procedures require panel removal, electrical access, or opening sealed water components. This article doesn’t provide instructions for that work.
Before the appointment, keep the model photo, leak photos, and written timeline together. Note any filter, plumbing, setting, or installation changes. Don’t dismantle the ice maker to produce more evidence. The technician can decide which manufacturer procedure applies.
Repair Pro San Diego can match you with licensed, insured independent technicians across San Diego County. The matched pro diagnoses the refrigerator and performs any approved repair. Repair Pro San Diego doesn’t employ technicians or perform physical work.
Our ice maker and water dispenser repair service page explains the referral process. If cost affects your decision, review the factors in our San Diego ice maker repair cost guide. The matched technician diagnoses first and quotes in writing before work begins.
Ask whether the technician has the exact model information before the visit. Also ask about their diagnostic fee, whether it is credited toward repair, and what warranty they provide on their work. Those policies belong to the independent technician, not Repair Pro San Diego.
When to call us
A recurring leak, an unclear source, or model procedures requiring disassembly calls for a licensed Appliance Repair pro. Repair Pro San Diego makes the referral, while the matched independent technician diagnoses and performs the work. Call (858) 988-7787 to leave a voicemail with your model and leak details. Repair Pro San Diego can then match you with a local appliance repair pro.