That sinking feeling when you walk into your kitchen and see a puddle spreading out from under the refrigerator is unmistakable. A fridge leaking water on the floor is more than just a nuisance; it’s a warning sign that something isn’t right. The good news is that you can often diagnose the problem yourself with a few careful checks.
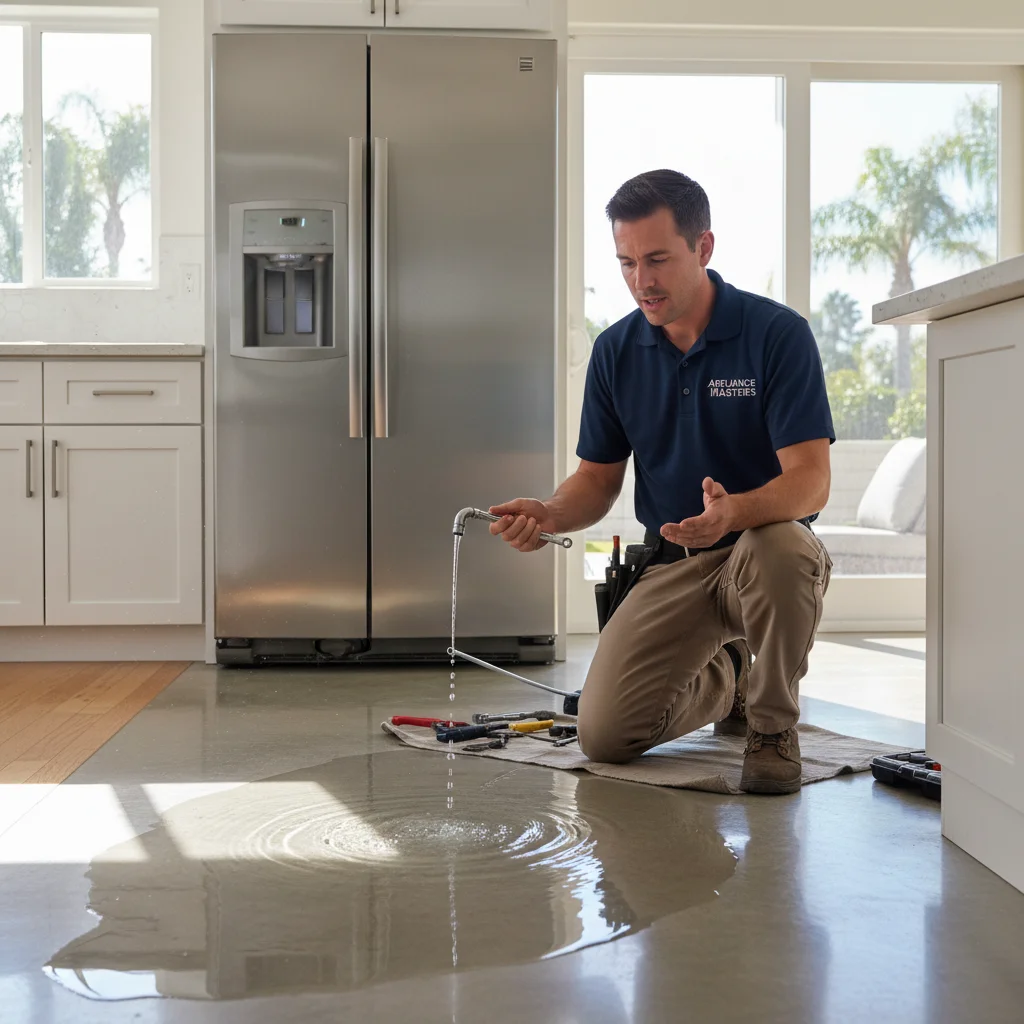
Before you panic, work through this five-step diagnostic checklist. We’ll walk you through the most common culprits, from simple clogs to failing parts, to help you pinpoint the source of the leak.
First, find the source of the leak
Before you can fix the problem, you have to know exactly where the water is coming from. This initial investigation will guide the rest of your troubleshooting. Is the water inside the fresh food compartment, dripping from the ice dispenser, or forming a puddle behind the unit?
Safety First: Unplug your refrigerator from the wall outlet before you move it or begin any inspection. Water and electricity are a dangerous combination.
Once it’s unplugged, carefully pull the refrigerator away from the wall. You’ll need enough space to comfortably see and work behind it. Use a flashlight to get a clear view. Now, play detective.
- Look for drips: Check all connections at the back of the fridge. Is there any active dripping from the water line connection, the water inlet valve, or the spot where the drain tube exits?
- Trace the trail: If there’s just a puddle on the floor, try to trace the water trail back to its origin. Water will follow gravity, so the source is likely directly above the wettest spot.
- Check inside: Open the freezer and fresh food doors. Do you see excessive frost or ice buildup, particularly on the back wall of the freezer? Is there standing water under your crisper drawers?
The location of the water is your biggest clue. Water inside the fridge often points to a defrost drain issue. A puddle behind the fridge is more likely related to the water supply line or drain pan. A leak at the front could be a clogged drain, a bad door seal causing excess condensation, or an issue with the water dispenser. Take note of what you find, as it will help you narrow down the possibilities in the next steps.
The number one cause: a clogged defrost drain
If you’ve found water pooling at the bottom of your fresh food compartment, a clogged defrost drain is the most likely suspect. Every refrigerator has an automatic defrost system to melt frost off the evaporator coils. This melted frost (water) needs a place to go, and that’s the job of the defrost drain. The drain is a small hole and tube that channels water from the coils down to a drain pan at the bottom of the unit, where it evaporates.
Over time, tiny food particles, ice shards, and other debris can get washed into this drain and create a blockage. Here in San Diego County, we have another common culprit: hard water. The high mineral content in our local water, as noted by the San Diego County Water Authority, can leave behind deposits that build up and clog the drain line.
When the drain is clogged, the water has nowhere to go. It backs up, freezes over the drain hole, and eventually overflows, leaking down into the compartment below or sometimes out onto the floor.
How to check and clear the defrost drain
- Locate the drain: The drain hole is typically located inside the freezer, at the bottom of the back panel, right below the evaporator coils. You may need to remove a plastic panel to access it. Consult your owner’s manual if you can’t find it.
- Thaw any ice: If you see a sheet of ice covering the drain, you’ll need to melt it first. You can do this by unplugging the fridge and letting it thaw for a few hours. A hairdryer on a low setting can speed this up, but be very careful not to melt any plastic components.
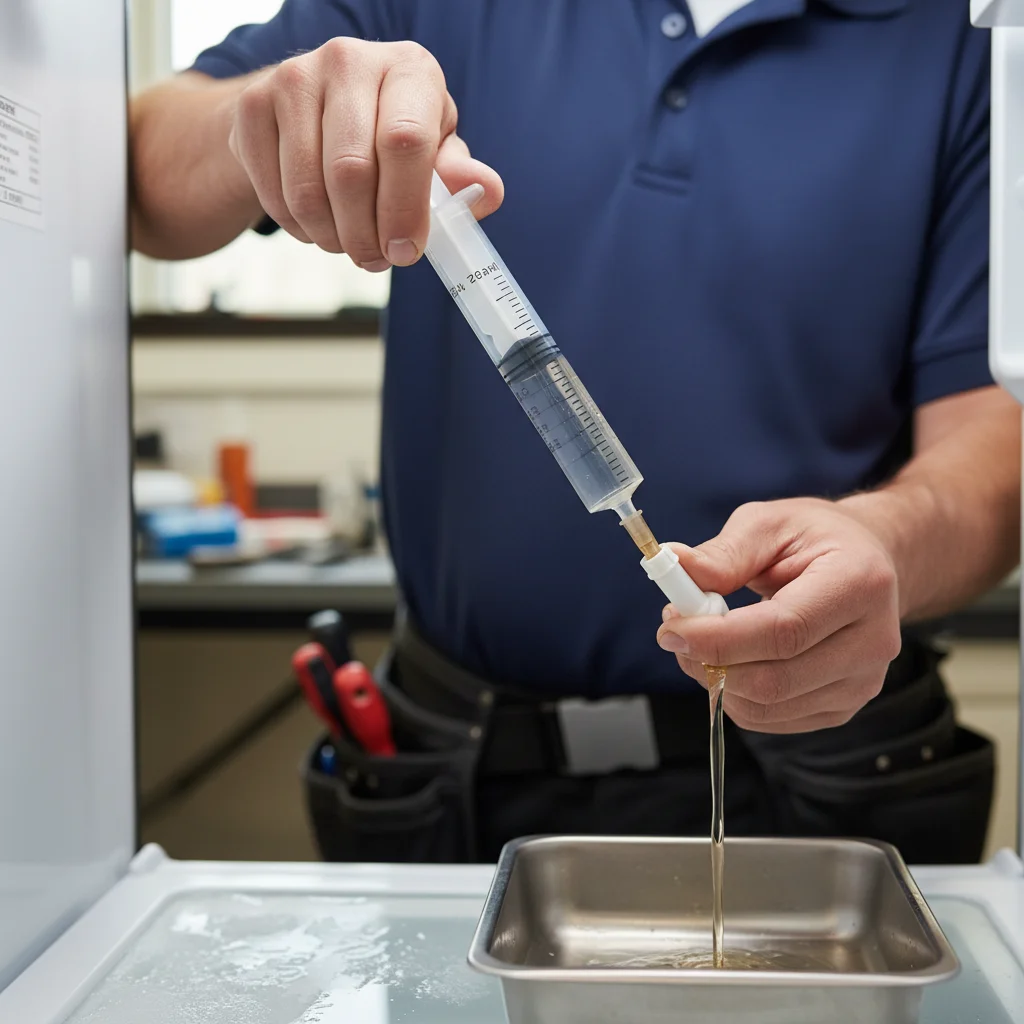
- Clear the blockage: Once you can see the drain hole, use a turkey baster or a syringe to force hot (not boiling) water down the drain. This can often dissolve or dislodge the clog. You can also use a small, flexible piece of tubing or a pipe cleaner to gently push the blockage through. Avoid using anything sharp or rigid that could puncture the drain line.
After clearing it, pour a little more water down to ensure it’s draining freely. If the problem persists, the clog may be further down the line, requiring a more involved repair.
Checking the water supply line and inlet valve
If the puddle is forming behind your refrigerator, the problem is very likely connected to the water supply for your ice maker and water dispenser. This system involves two key components: the water supply line and the water inlet valve.
The supply line is the thin plastic or copper tube that runs from the water pipe in your wall to the back of your fridge. The water inlet valve is the part on the refrigerator that the supply line connects to. This valve is an electrically-controlled gate that opens and closes to let water into the appliance. A failure in either of these parts will cause a fridge to leak water on the floor.
How to inspect the water line
With the fridge still pulled out and unplugged, carefully examine the entire length of the water line. Over time, plastic lines can become brittle and crack. Look for:
- Obvious cracks or pinholes: Even a tiny hole can produce a significant amount of water over 24 hours.
- Dripping from the connections: Check the fittings at both ends of the line, where it connects to the wall valve and where it connects to the fridge’s inlet valve. A loose nut or degraded rubber washer can cause a slow drip.
- Signs of aging: If the plastic line is yellowed, stiff, or discolored, it’s a good idea to replace it, even if you don’t see a clear leak. It’s an inexpensive part that prevents a future flood.
How to inspect the water inlet valve
The inlet valve is usually a small, squarish part located at the bottom-back of the refrigerator where the water line connects. Look for:
- Cracks in the valve body: The plastic housing can crack under pressure or from age.
- Water dripping from the valve: Look for active drips or mineral buildup around the valve itself, which indicates a slow, long-term leak.
- A valve that won’t close: Sometimes, mineral deposits from San Diego’s hard water can cause the valve to stick slightly open, allowing water to constantly seep through.
If you suspect the valve is faulty, it will need to be replaced. This is a common task, but if you’re not comfortable working with plumbing and electrical connections, it’s a quick job for a professional. A faulty valve is a frequent reason for a service call, often related to an ice maker repair.
Is your drain pan cracked or overflowing?
At the very bottom of your refrigerator, there’s a shallow pan designed to catch the condensation that comes from the defrost drain. The heat from the compressor and condenser fan helps this water evaporate into the air. Usually, this system works perfectly without you ever knowing it’s there. However, two problems can turn this pan into a source of leaks.
First, the pan itself can be damaged. It’s almost always made of plastic, which can become brittle over the years. If it gets bumped while moving the fridge or simply cracks from age, it will no longer hold water.
Second, the pan can overflow. This happens when more water is entering the pan than can be evaporated. The most common reason for this is a very humid environment, especially during a muggy San Diego summer. If your door seals are worn, they can let in warm, moist air, leading to excessive condensation and an overflowing pan. In other cases, an overflowing pan can be a symptom of a larger cooling problem. If your defrost cycle is running too frequently due to a cooling system issue, it can overwhelm the pan. If you’ve also noticed your fridge is not cooling properly, the overflowing pan is likely a side effect of that bigger problem.
How to check the drain pan
- Locate the pan: You can usually access the drain pan from the back of the fridge after removing a lower service panel. On some models, it might slide out from the front after you remove the kick plate grill at the bottom.
- Inspect for cracks: Carefully remove the pan. Be prepared for it to have some water in it. Once it’s out, empty it and inspect it closely under good light for any cracks or holes.
- Check for overflow: If the pan is completely full and spilling over, you need to figure out why. Is the humidity in your home very high? Are the door gaskets sealing tightly? You can test gaskets by closing the door on a dollar bill. If it pulls out with no resistance, the seal is weak and should be replaced.
A cracked pan needs to be replaced. An overflowing pan requires a little more investigation to solve the root cause of the excess water.
When to suspect a bad water filter or housing
If your refrigerator has a built-in water and ice dispenser, it also has a water filter that needs to be replaced periodically. While essential for clean water, the filter system itself can sometimes be the source of a leak, especially for water appearing inside the fresh food compartment.
There are a few ways a water filter can cause a leak:
- Improper installation: If the filter isn’t fully twisted and locked into place, the O-rings won’t create a proper seal, allowing water to seep out. This is common after replacing an old filter.
- Using the wrong filter: Not all filters are created equal. Using an off-brand or incorrect model for your refrigerator can result in a poor fit and a subsequent leak. Always use the manufacturer-recommended filter.
- Cracked filter housing: The filter head, which is the part the filter screws into, can develop small cracks over time due to water pressure and the stress of changing filters. These cracks can be very difficult to see but can produce a steady drip.
- Damaged filter: The filter itself could be defective or have a cracked housing right out of the box.
How to check your water filter system
- Check the fit: Try removing and reinstalling your current water filter. Make sure it turns and clicks firmly into place as described in your owner’s manual.
- Inspect the filter head: Remove the filter and use a flashlight to carefully inspect the housing it connects to. Look for any visible hairline cracks in the plastic.
- Wipe and watch: Dry the area around the filter housing completely with a paper towel. Then, place a dry paper towel underneath it and watch it for several minutes. Dispense some water to put the system under pressure. If the towel becomes wet, you’ve found your leak.
If the leak is coming from the filter itself, replacing it should solve the problem. If the housing is cracked, that component will need to be replaced by a technician, as it’s a more involved repair.
If you can’t find the leak, here’s what we do
You’ve checked the drain line, inspected the water supply, examined the drain pan, and cleared the water filter, but the puddle keeps coming back. Some leaks are simply harder to find and may stem from less common or more complex issues that aren’t safe or practical for a DIY fix.
When you call Repair Pro San Diego, our experienced technicians follow a systematic process to find and fix even the most elusive leaks. We have the tools and expertise to diagnose problems that go beyond the basics.
This can include:
- Testing the water inlet valve solenoid: We can test whether the valve is receiving the correct electrical signal to open and close properly.
- Checking for a frozen fill tube: The tube that carries water to the ice maker can sometimes freeze up and crack, causing a leak inside the freezer.
- Inspecting for internal leaks: In rare cases, a leak can originate from within the sealed cabinet of the refrigerator, a job that is impossible to diagnose without professional equipment.
- Diagnosing defrost system failures: A faulty defrost timer or heater can cause massive ice buildup that leads to major leaks when it finally melts.
Don’t feel defeated if you can’t find the source. You’ve done the important work of ruling out the simple fixes. Now, it’s time to let a professional take over. Our goal is to provide a fast, accurate diagnosis and a lasting fix. For any complex issues, a professional refrigerator repair is the safest and most effective solution.
Frequently asked questions
What is the most common cause of a refrigerator leaking water inside?
A clogged defrost drain is the number-one culprit. The drain carries melted frost from the evaporator coils down to the pan below, and it blocks easily with food debris or mineral deposits from San Diego’s hard water. When it clogs, water backs up, freezes over the drain hole, and eventually overflows into the fresh food compartment or under the crisper drawers.
Why is there a puddle behind my refrigerator?
Water behind the fridge almost always points to the supply line or the water inlet valve. Check the plastic or copper supply line for hairline cracks, loose fittings at both ends, and signs of brittleness. If the line looks fine, inspect the inlet valve itself for cracks or mineral buildup that keeps it from closing fully.
Can a bad door seal cause a refrigerator to leak?
Yes. A worn or torn door gasket lets in warm, humid air, which causes excess condensation inside the cabinet. That extra moisture can overwhelm the drain pan and spill onto the floor. Test the seal by closing the door on a dollar bill; if it pulls out without resistance, the gasket needs replacement.
When should I call a technician instead of trying to fix the leak myself?
Call a technician if you’ve cleared the defrost drain, checked the water lines, and inspected the drain pan and filter but the puddle keeps returning. Less common causes, like a frozen fill tube, a faulty inlet valve solenoid, or a defrost system failure, need professional tools and diagnostic testing to find.
When to call us
If you’ve worked through this checklist and still have a puddle, or if you’ve found the problem but the repair feels bigger than you’re comfortable tackling, we’re here to help. Handling water lines and electrical components can be tricky, and a small mistake can lead to a much bigger problem. Our technicians have the right parts and tools to fix your leaking refrigerator quickly and correctly.
Call us at (858) 988-7787 for a same-day estimate.