Check and replace washing machine supply hoses
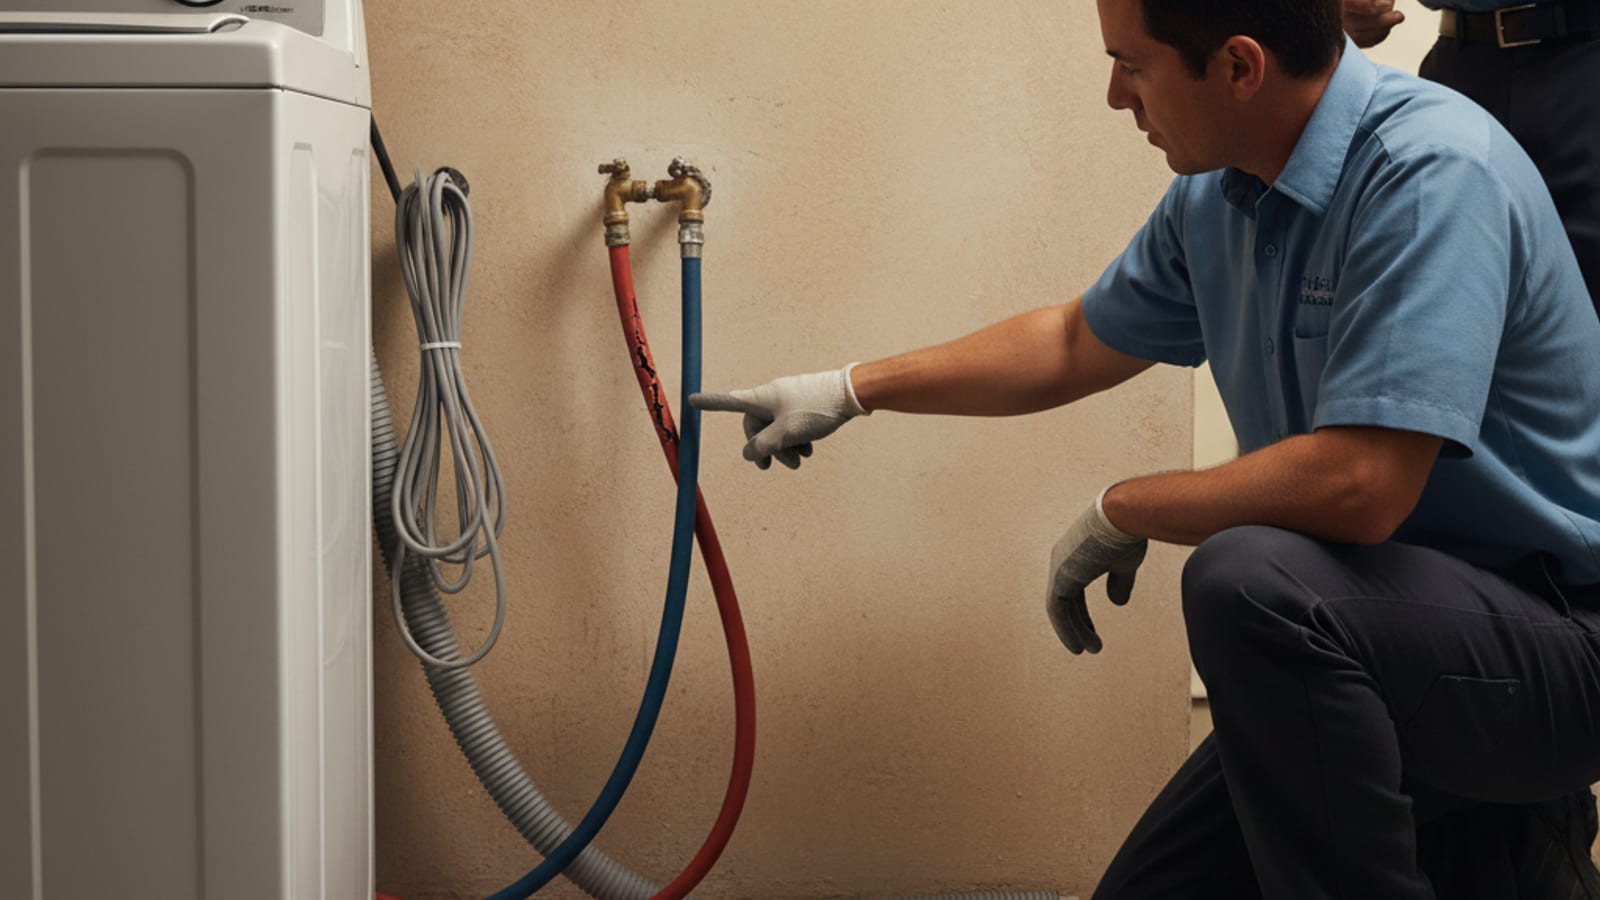
Inspect washer supply hoses for leaks, bulges, cracks, kinks, or worn connections. Follow the washer and hose instructions for replacement and installation.
What you'll learn
- Which visible hose defects need attention
- Why braided hoses still need inspection
- How to isolate water and power before work
- Why replacement intervals and fitting instructions depend on the product
Step by step
- Stop the washer, disconnect its power, and close both water supply valves before disconnecting a hose. If the valves will not close, stop and arrange help.
- Move the washer only if you can do so without straining hoses, the drain line, or the power cord.
- Place a bucket and towels below the connections, then disconnect the old hoses as directed by the manual.
- Fit compatible new hoses and seals using the manufacturer instructions. Follow the specified tightening method; do not force or overtighten fittings.
- Restore the water supply slowly and check each connection for leaks before returning the washer to use. Record the replacement date and inspect again after a cycle.
Whirlpool recommends replacing inlet hoses after five years on the products covered by its instructions. Follow your own model and hose guidance. Braided hoses are not a guarantee against sudden leaks.
Source instructions
Use the instructions for your exact model before starting maintenance.
Rather have a pro handle it?
We match you with a vetted local appliance tech across San Diego County. Leave a message and we call you back.
Keep learning.
Clean your refrigerator condenser coils
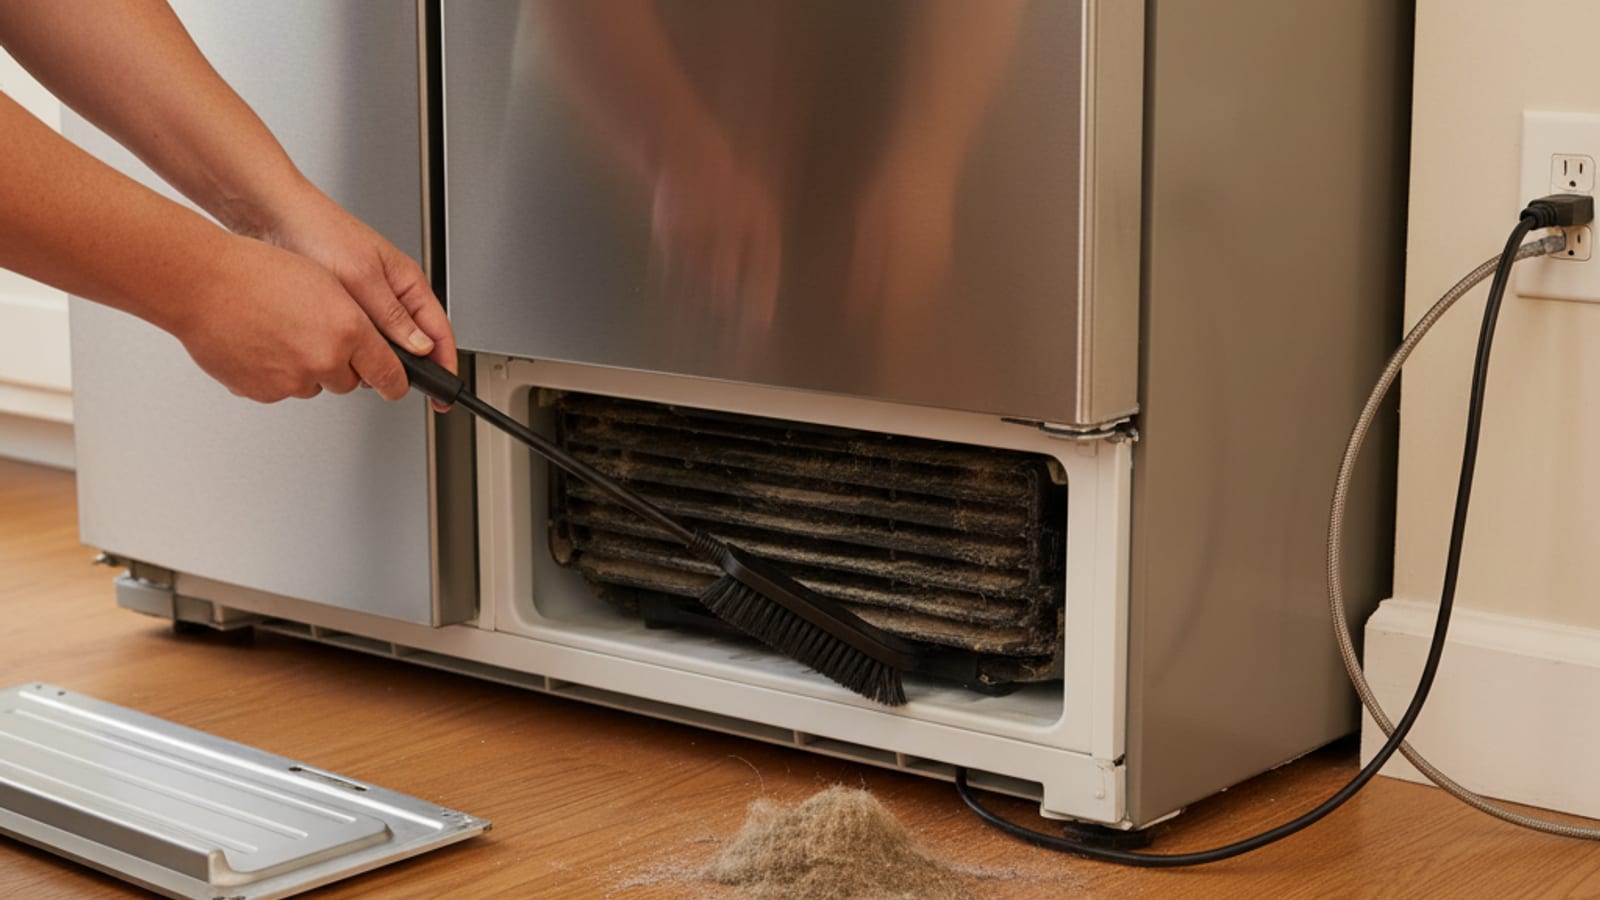
Check your refrigerator manual before cleaning condenser coils. Some models have accessible coils; others need no routine cleaning or require a technician.
Clean your dryer vent line
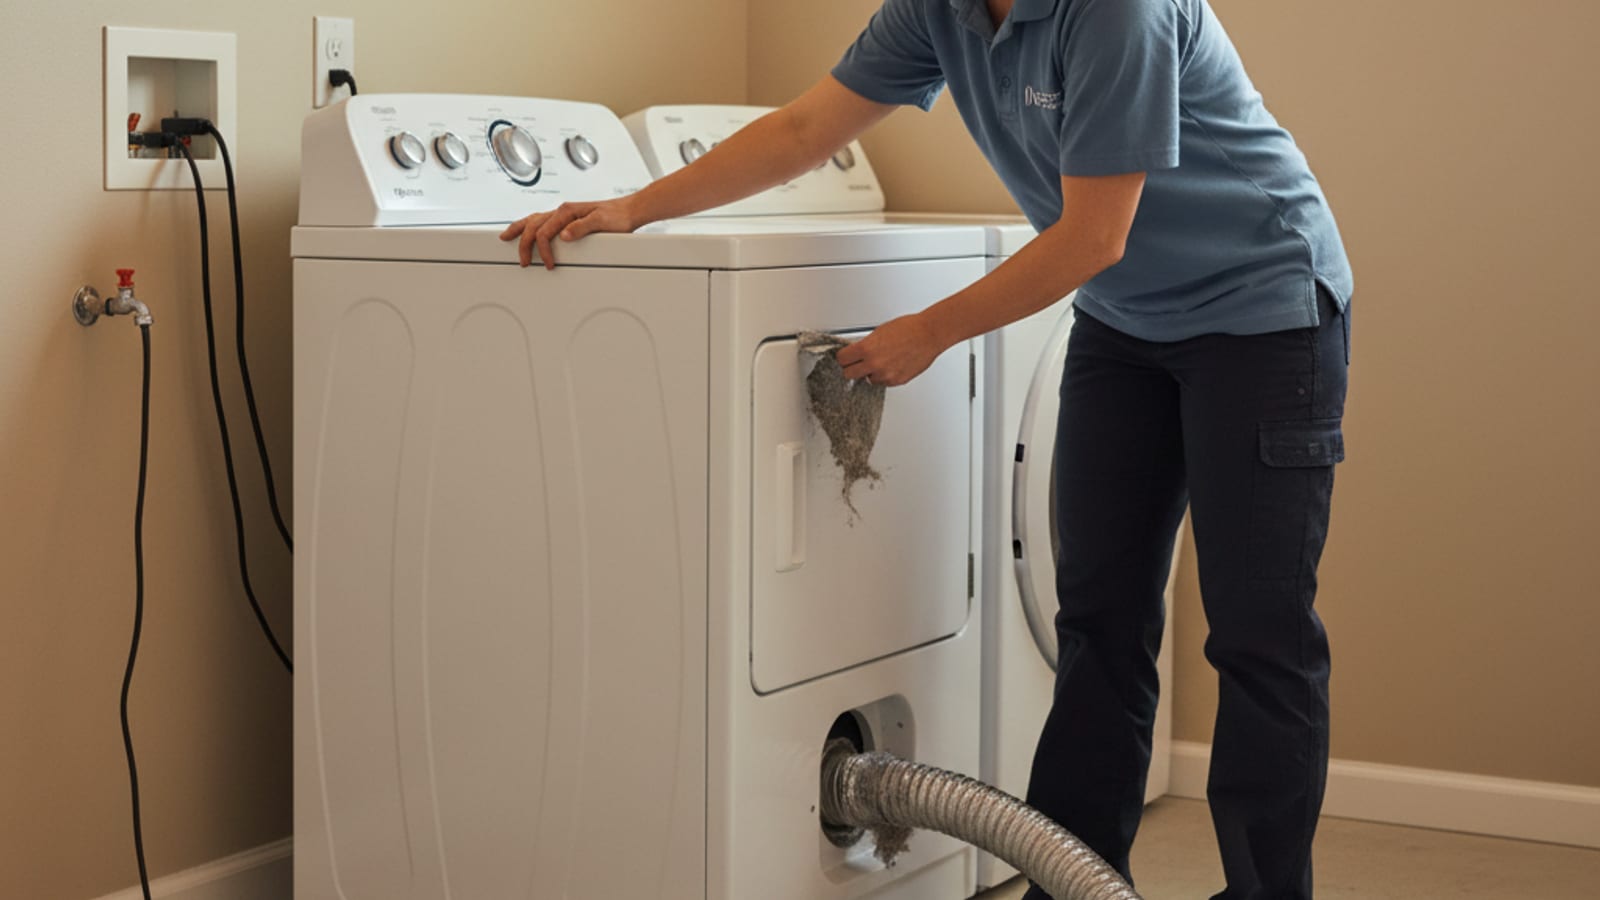
Lint buildup and restricted venting can increase dryer fire risk and slow drying. Check the lint filter and accessible venting, following your model manual.
Clean your dishwasher filter
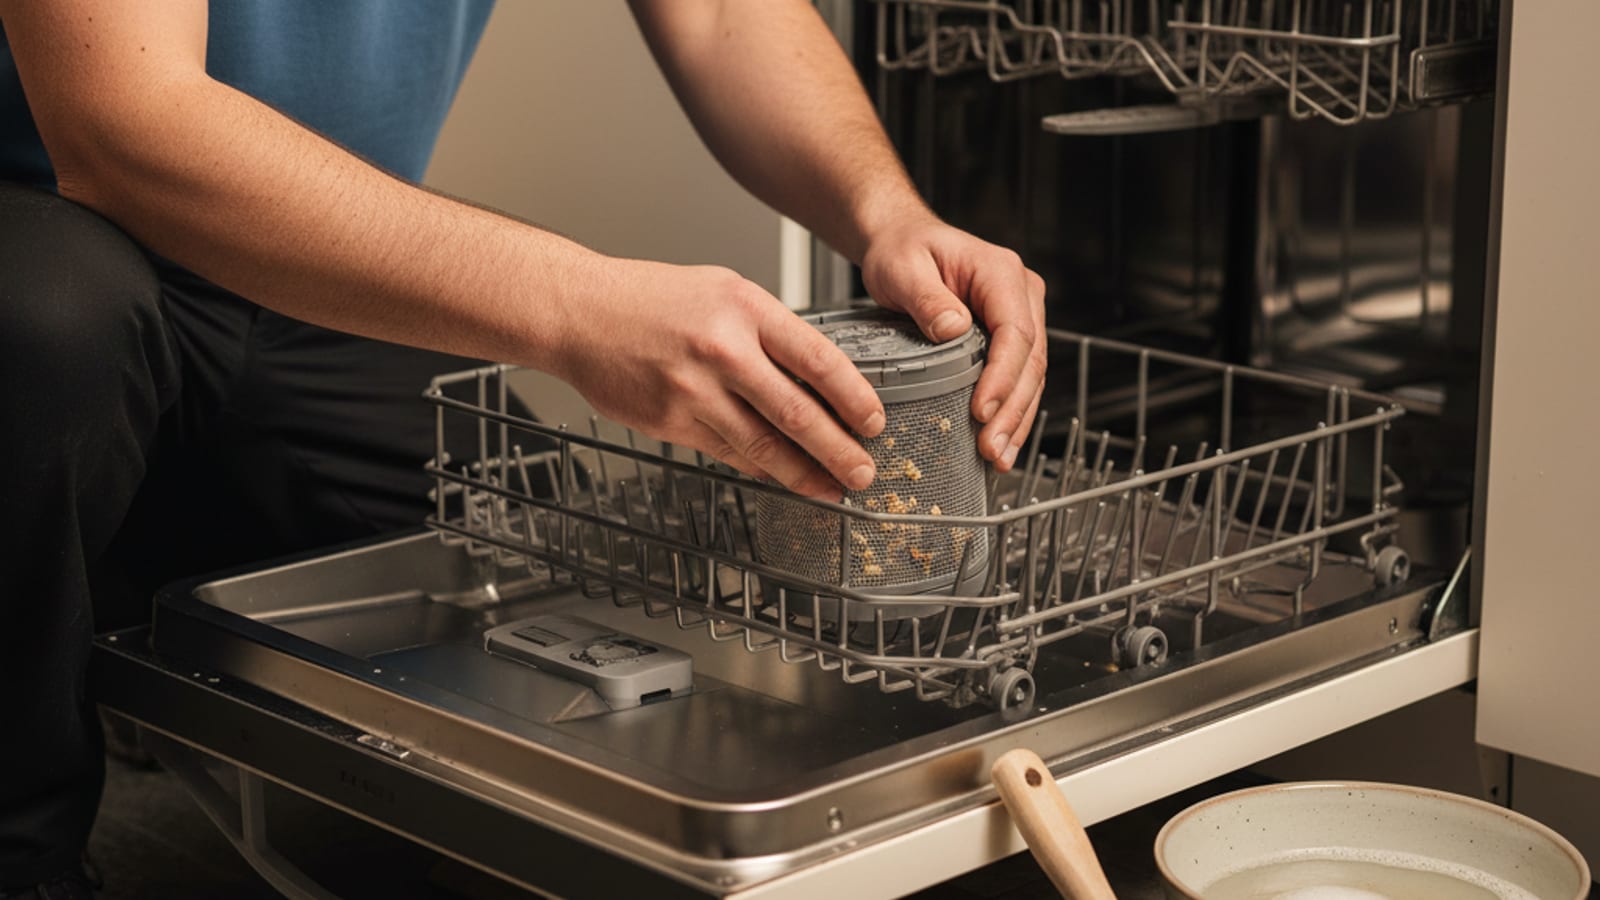
A dirty removable filter can leave food residue on dishes. Check your model manual first: some dishwashers use a filter that needs no routine cleaning.