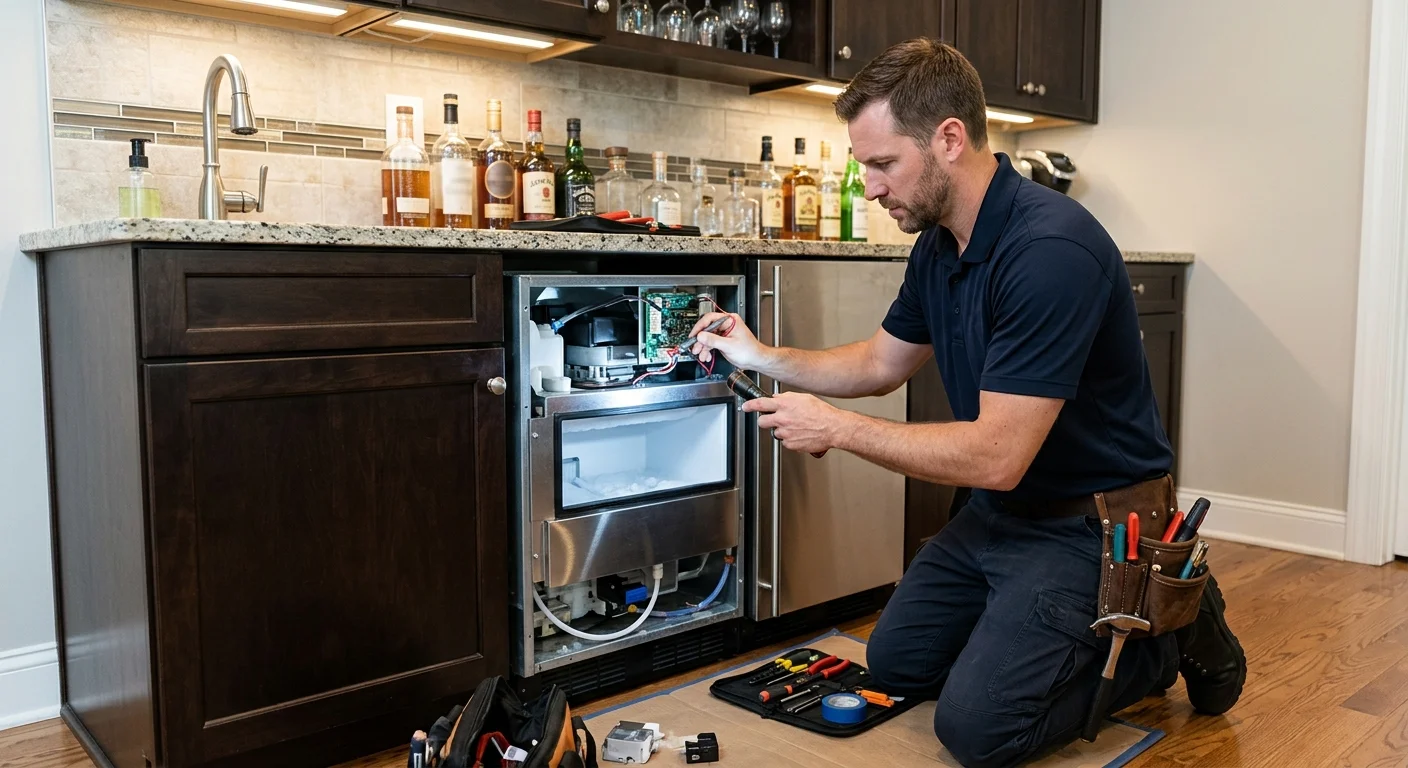
A silent built-in ice machine calls for its own checklist. When an undercounter ice maker isn’t making ice, start with its model, controls, water pattern, drain, and installation. Those details help separate a simple setting issue from a problem needing professional diagnosis.
Separate an undercounter unit from a refrigerator ice maker
An undercounter ice maker is a separate appliance. It sits beneath a counter or inside dedicated cabinetry. It has its own model number, controls, water connection, and operating instructions.
A refrigerator ice maker works inside the refrigerator or freezer. Its diagnosis depends partly on that appliance’s cooling and water systems. Our general ice maker troubleshooting guide covers those refrigerator-mounted designs.
This page covers residential built-in and freestanding undercounter machines. It doesn’t cover countertop reservoir units or restaurant ice machines. That distinction matters when requesting undercounter ice maker repair. The technician needs to know which appliance is actually failing.
Look for a product label where the manufacturer directs. Common label locations vary, so don’t assume the visible door branding identifies the complete model. Check the owner’s manual before moving bins, panels, or trim.
Also note how the machine is installed. A built-in unit may have cabinet ventilation, a fixed water line, and a connected drain. A freestanding design may have different clearance or drainage instructions. The model’s installation guide controls those details.
San Diego installations aren’t all alike. A machine fitted into compact cabinetry near Little Italy may offer different access than a North County wet bar. South Bay homes and properties along the I-8 corridor can also have varied cabinet layouts. Share the actual location and access conditions when requesting a match.
For refrigerator-mounted equipment, use the refrigerator article instead. For standalone residential units, continue with the checks below or review our San Diego ice maker repair guide.
Record the model, controls, and water pattern
Good notes can shorten the diagnostic conversation. Start with the full model and serial information shown on the product label. Photograph the label if it’s accessible under the manufacturer’s instructions.
Next, record what the controls display. Write down every light, symbol, message, or code exactly. Don’t translate a blinking pattern from memory. Compare it with the current manual for that exact model.
Then observe one operating attempt without opening any service panels. Useful details include:
- Whether the unit powers on
- Whether the controls accept input
- Whether you hear water enter
- Whether water appears in the ice-making area
- Whether the unit cools but never releases ice
- Whether ice forms but doesn’t reach the bin
- Whether water remains inside or drains away
- Whether the machine stops with a light or code
- Whether the bin is empty, partly filled, or blocked
Timing also gives context, but use the manual’s stated cycle information. Don’t rely on a generic production schedule from another machine. Room conditions, settings, and model design can change the observed pattern.
Write down what happened before production stopped. The unit may have been cleaned, moved, switched off, or reinstalled. A water shutoff may have been used elsewhere in the home. Cabinet work may also have changed the machine’s clearance or connections.
Don’t clear a code before recording it. If the manual directs an owner reset, note the display before and after that process. Repeated resets can hide the pattern a technician needs to see.
These observations are more useful than ordering a part from an online symptom list. Similar symptoms can begin in different parts of the water, drain, cooling, or control system.
What owners can check without opening components
Stay within the owner-level steps in the current manual. Don’t remove service panels, disconnect internal wiring, or move a built-in unit unless its instructions specifically direct you to do so.
First, confirm the selected operating mode. Some controls include cleaning, off, or delayed functions. The exact labels and reset procedure depend on the model. Follow the control guide instead of trying a button sequence from another machine.
Check whether the door closes normally. Look for a bin, scoop, package, or loose item interfering with it. If the bin has a required position, compare its placement with the manual’s diagram.
Confirm that the appliance has power. Look at the display or indicator behavior. If the manual includes an owner reset, follow that procedure once. Record the result. If the controls remain blank, stop there and include that symptom in the repair request.
Inspect only visible water connections. Confirm that an accessible shutoff is positioned as the installation instructions require. Look for an obvious bend in the exposed supply line. Don’t pull the appliance from its cabinet to reach hidden plumbing.
Observe what happens to water during a cycle. No water, retained water, and repeated draining point technicians toward different tests. Don’t disconnect a drain line to investigate. Undercounter models can have different drainage arrangements, so the installation document matters.
Keep visible ventilation openings clear as directed by the manual. Note nearby heat, blocked grilles, or recent cabinet changes. Don’t assume every model vents from the same location.
Cleaning also needs model-specific instructions. Use only the method and products named by the manufacturer. If the machine stopped during or after a cleaning cycle, record exactly what was done.
A newly installed or recently moved unit may need an installation review. The matched pro can compare its water, drainage, power, clearance, and leveling with the manufacturer documents. Our appliance installation and hookup service explains how we connect San Diego County homeowners with independent local pros for that work.
What technicians inspect when ice production stops
A technician starts by confirming the symptom and model configuration. The recorded control behavior and water pattern help determine which system to test first.
On the water side, the pro may inspect the accessible supply, inlet components, reservoir, sensors, and internal water path. The exact parts depend on the model. A machine receiving no water requires a different diagnosis from one filling repeatedly.
Drainage is checked separately. Depending on the installation, the technician may examine a pump or gravity-drain arrangement. Standing water, repeated draining, or a cycle that stops after filling can provide useful clues. The pro can also compare the actual drain setup with the installation guide.
The cooling and ice-making systems come next. Testing may include airflow, temperature sensors, the freezing surface, harvest components, and related controls. A machine can cool without completing its full ice-making sequence. Another may form ice but fail before the ice reaches the bin.
Electrical diagnosis can include switches, wiring, motors, and control components. Those checks belong behind the service boundary. An error code alone doesn’t prove which part has failed.
If testing reaches a refrigerant circuit, the work requires an EPA Section 608-certified technician. The EPA states that certification applies when service involves refrigerant access or compromises the appliance’s refrigerant circuit.
Repair Pro San Diego doesn’t perform those tests. We match homeowners with licensed and insured independent local appliance technicians. You can also check a service dealer’s California registration through the Department of Consumer Affairs public lookup.
For help arranging professional ice maker and water dispenser repair, share the model, installation type, control pattern, and water observations. Those details give the matched technician a clearer starting point.
When to request undercounter ice maker repair
Request built-in ice maker repair when the approved owner checks don’t restore production. Professional diagnosis also makes sense when the controls stay blank, a code returns, water doesn’t enter, water remains inside, or ice never reaches the bin.
Call out recurring behavior. A unit that starts after a reset but stops again hasn’t provided a lasting answer. Record the sequence and let the technician test the systems involved.
Installation history matters too. Mention whether the machine is new to the cabinet, recently moved, or connected after remodeling. Don’t assume a production problem is an internal part failure. Water, drainage, electrical, clearance, and setup details all need comparison with the model’s documentation.
Avoid purchasing a valve, pump, sensor, or control from symptoms alone. Part names and designs differ by model. The same visible failure can also have more than one cause.
Repair decisions should follow the diagnosis. Repair Pro San Diego has no fee schedule and doesn’t set a technician’s pricing. Ask the independent pro about their diagnostic fee before the visit. The matched technician diagnoses first and quotes in writing before work begins.
When requesting a match, include your San Diego County location and access details. Mention stairs, gated entry, tight cabinetry, or a wet bar away from the main kitchen. Also share the model label photo and any recorded code. Clear information helps the independent technician prepare for the correct appliance and installation.
When to call us
A standalone ice maker needs a licensed appliance repair pro when owner-level checks don’t restore production or the fault involves internal components. Repair Pro San Diego can match you with a licensed and insured independent local technician who performs the diagnosis and repair.
Call (858) 988-7787 to leave a voicemail requesting a match with a local appliance repair pro.