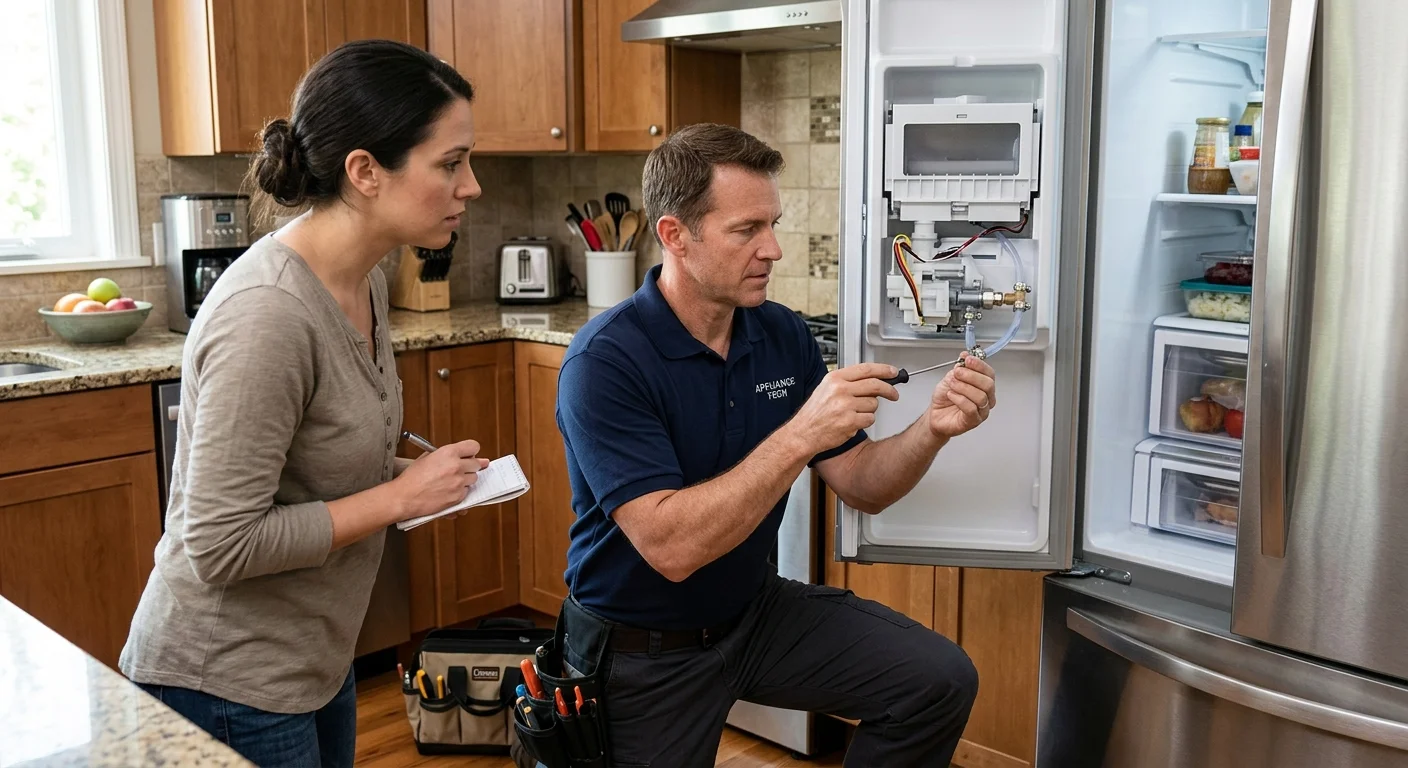
This guide is about repairing or replacing the ice maker already mounted in your refrigerator. It is not a shopping guide for buying a new standalone ice maker. If you’re researching how to repair an ice maker, start with its exact model and symptom. The practical choice isn’t always replacing the complete assembly. A technician first separates a water, control, temperature, fit, or ice-making problem.
Confirm the ice maker type and model
This guide covers ice makers mounted inside residential refrigerators. It doesn’t cover freestanding undercounter units or commercial ice machines. That distinction matters because the parts, controls, installation, and service paths aren’t interchangeable.
First, note where the ice maker sits. It might be inside the freezer, mounted in a refrigerator door, or paired with a second ice-making compartment. Record which unit has stopped working if the refrigerator has more than one.
Find the refrigerator’s complete model and serial numbers. Photograph the label instead of copying it from memory. The label location varies, so check the owner’s manual when it isn’t immediately visible. Include every letter, number, space, and suffix shown.
Next, locate the model-specific owner’s manual or support page. Confirm the ice maker’s controls, normal indicators, filter instructions, and owner-approved reset steps there. A reset sequence from a similar-looking refrigerator might not apply to yours.
The refrigerator model also helps identify the correct parts information. An ice maker sold under the same brand name can change between model revisions. Appearance alone doesn’t establish compatibility.
San Diego County homes also present different installation settings. A built-in refrigerator in La Jolla isn’t accessed like a freestanding unit in an East County garage. Downtown condo cabinetry may further limit door movement and service access. Share those details when requesting ice maker and water dispenser repair.
Before buying anything, search the exact model in the CPSC recall database. If a listing appears, follow the remedy and contact instructions published for that model.
What owners can record before requesting service
A useful symptom record tells the technician what changed. Start with the first day you noticed the problem. Note whether it began suddenly, returned after another event, or became less consistent over time.
Describe the symptom precisely. Useful descriptions include:
- The ice maker produces no ice.
- The tray fills, but ice doesn’t release.
- Ice remains stuck near the mold or chute.
- The unit makes a repeating sound.
- Water appears beneath the bin or nearby.
- The display shows a specific code or indicator.
- Ice production stops and later resumes.
- The dispenser works, but the ice maker doesn’t.
Write down the exact display code. Don’t translate it into a diagnosis. Photograph the display before clearing anything. A short recording can also capture a repeating sound that disappears before service.
Record what still works. Tell the technician whether the refrigerator and freezer seem to cool, whether water dispenses, and whether other controls respond. If you have an appliance thermometer, provide the observed reading and where you measured it. The technician can compare that result with the manufacturer’s requirements.
Also note recent changes. These might include a filter replacement, refrigerator move, power interruption, plumbing work, control adjustment, or a bin removed for cleaning. Report the sequence without assuming it caused the failure.
Only complete checks listed for owners in the current manual. Don’t copy a model-specific procedure from an unrelated video. Our guide to an ice maker that isn’t making ice can help organize symptoms without turning the visit into guesswork.
For local context, mention the refrigerator’s location. A coastal condo kitchen, an Inland North County garage, and an East County utility area give the technician different placement details to consider.
What technicians inspect before recommending repair
A qualified technician tests the system before recommending repair or replacement. The inspection should connect the reported symptom to a specific failed part, blocked path, control issue, or installation condition.
The technician may begin by confirming the model and reviewing stored indicators. They can measure actual compartment conditions and compare them with the manufacturer’s service information. This matters because an ice maker can stop cycling even when the visible assembly isn’t the source.
The water path also needs a model-specific inspection. Depending on the refrigerator, that can include the supply connection, filter area, inlet components, fill path, and nearby tubing. The technician looks for evidence that explains the symptom instead of treating every no-ice complaint as the same failure.
Electrical and mechanical checks can cover connectors, sensors, switches, controls, the ice mold, ejector components, and the drive assembly. The exact list depends on the design. Ask which test identified the problem and whether the recommendation covers one component or a complete ice maker assembly.
Repair often remains a reasonable option when the fault is isolated, the correct part is available, and the rest of the system checks out. Replacement becomes a stronger option when the failed portion isn’t serviced separately, the approved assembly can’t be repaired as a component, or repeat faults point beyond one replaceable part.
That isn’t the same as replacing the refrigerator. A technician should distinguish an ice maker replacement from a broader refrigerator problem. Ask whether cooling, controls, water delivery, and door operation were evaluated before accepting a larger recommendation.
Request a written diagnosis and quote before work begins. The matched technician diagnoses first and quotes in writing before work begins. For market context, our San Diego ice maker cost guide explains the factors that can move a repair or replacement decision without stating a company fee.
What replacement fit details need confirmation
A refrigerator ice maker replacement must match more than the visible shape. Start with the refrigerator’s full model number and revision. Then ask the technician to confirm the manufacturer-approved assembly or component for that exact unit.
Several fit points may need review. These can include mounting locations, electrical connectors, control communication, fill alignment, bin clearance, and nearby trim. A part that appears to fit can still conflict with the refrigerator’s wiring or water path.
Door-mounted systems need special attention to available space. The bin, chute, shelf arrangement, and door movement must continue working together. Built-in cabinetry can also limit the access needed to remove panels or complete testing.
Don’t assume a replacement listing applies because it names the same brand. Confirm the part number through current manufacturer documentation. Ask whether that number replaces an older part and whether any additional model-specific pieces are required.
Coverage is another item to verify, not guess. Check the refrigerator’s purchase records and current manufacturer documents. Ask the manufacturer or authorized provider whether the diagnosed part and labor qualify under the applicable written terms. Keep the model, serial number, receipt, diagnosis, and proposed part number together.
If the recommendation changes the refrigerator’s hookup or physical placement, discuss that separately. Our appliance installation and hookup service can match homeowners with an independent pro for installation-related work. The repair technician should explain whether the proposed job is an internal ice maker replacement or a broader installation change.
For a panel-ready or tightly enclosed refrigerator, provide photos of the cabinet opening and surrounding doors. Measurements and access details should be confirmed before ordering. That prevents a replacement decision from resting on the ice maker’s appearance alone.
How to request a matched ice maker technician
When requesting a match, say that the problem involves a refrigerator-mounted ice maker. Include the brand, complete model number, installation type, and San Diego County location. Mention whether the refrigerator is freestanding, built-in, panel-ready, or placed in a garage.
Give a short symptom summary. For example: “The freezer cools, water dispenses, and the upper ice maker stopped cycling.” Add any exact code, sound, leak location, or recent change. Avoid naming a failed part unless a technician has already diagnosed it.
Ask the independent technician to address these points in writing:
- What test supports the diagnosis?
- Is the failed item available separately?
- What exact part number fits this refrigerator?
- Does the recommendation repair one component or replace the assembly?
- Are water, control, and temperature conditions part of the diagnosis?
- What does the written quote include?
- What written warranty terms apply to the technician’s work?
Repair Pro San Diego makes the referral. It doesn’t diagnose appliances, perform repairs, stock parts, set technician fees, or provide the work warranty. The insured independent professional you choose evaluates the refrigerator and performs any approved work.
California appliance repair businesses must register with the Bureau of Household Goods and Services. You can check a business’s current registration through the California Department of Consumer Affairs lookup. That lookup confirms registration status, not an individual technician’s skill with your model.
A complete request helps the matched pro understand the appliance before discussing next steps. It also keeps the decision tied to evidence, manufacturer documentation, correct fit, and a written quote.
When to call us
Request an appliance repair pro when model-approved owner checks don’t restore ice production, the unit leaks, or diagnosis requires internal testing. We can match you with an insured independent technician serving San Diego County. Call (858) 988-7787 to leave a voicemail requesting a match with a local appliance repair pro.