You’ve prepped the lasagna, set the oven to 375°F, and slid it in. An hour later, the cheese is still unmelted and the kitchen is stubbornly room temperature. An oven that won’t heat up is one of the most disruptive appliance failures, but it doesn’t always mean a huge repair bill is coming.
Before you pick up the phone, there are several safe, straightforward checks you can perform. Many common causes of an oven not heating are surprisingly simple to diagnose. We’ll walk you through the key steps for both gas and electric ovens so you can pinpoint the problem and decide on your next move.
First: is it the oven, the igniter, or the gas line
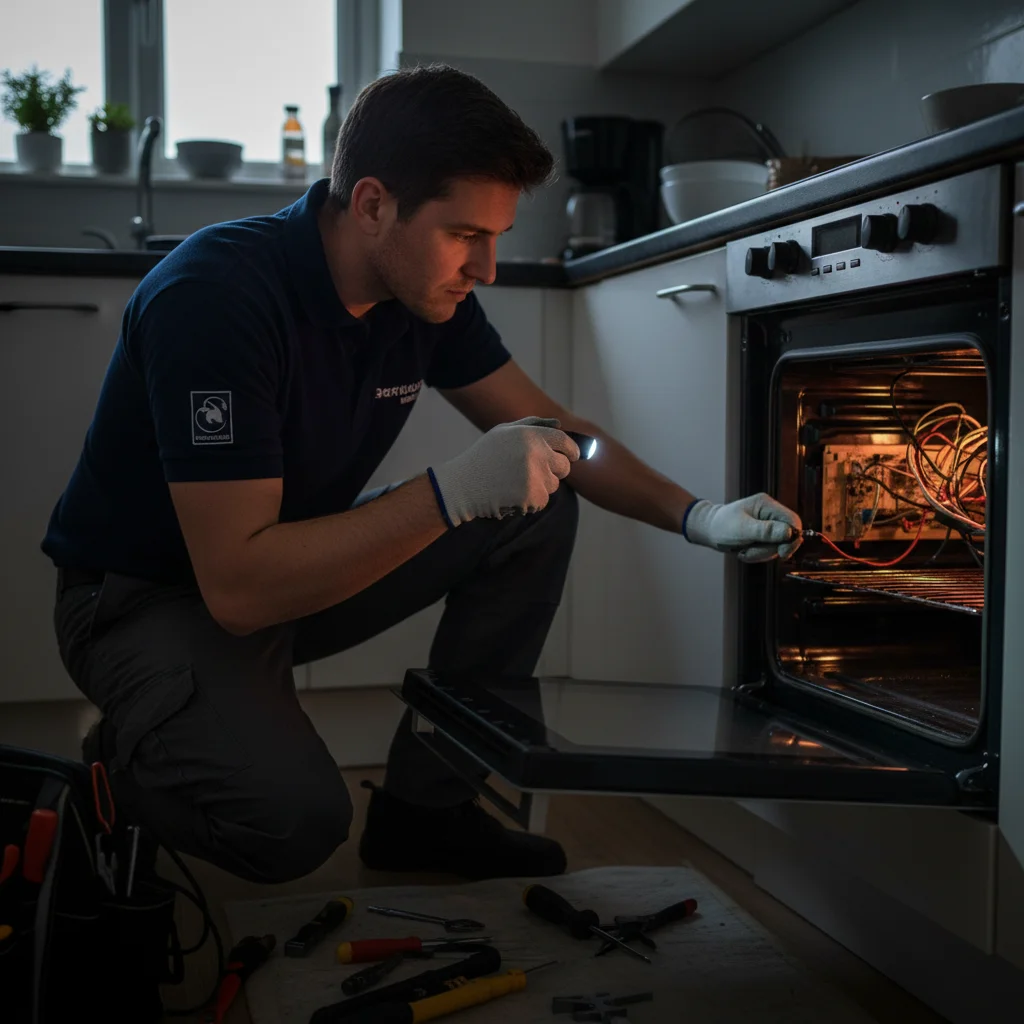
Before you start disassembling anything, let’s make sure the problem is actually inside the oven. Basic troubleshooting starts with the power source and simple operational settings. It sounds obvious, but these steps solve more service calls than you’d think.
For an electric oven not heating, start with the power. Go to your home’s circuit breaker panel. Find the breaker for your oven, it’s usually a large, double-pole breaker. Is it tripped? Sometimes, a breaker can look like it’s on but is actually tripped. Flip it completely off, then firmly back on. Next, check the oven’s display. Are the clock and other controls lit up? If the display is completely dead, you have a power supply issue, not a heating component failure. Also, some ovens have a “Sabbath” or “Demo” mode that disables heating. Check your user manual to make sure one of these modes wasn’t activated by accident.
For a gas oven, the first check is even simpler. Try to light one of the stovetop burners. If it lights up normally, you know you have a steady gas supply to the appliance. This is good news. It means the issue is isolated to the oven components, not your home’s gas line. If the stovetop burners don’t light either, check the gas shut-off valve for the range, which is usually located behind it. Make sure it’s in the “on” position (the handle should be parallel to the pipe). If the valve is open and you still have no gas, it’s time to call your gas utility company or a plumber.
Electric oven: bake element and broil element diagnosis
In an electric oven, the heat comes from two distinct parts: the bake element at the bottom and the broil element at the top. When your oven won’t heat up for baking, the bake element is the primary suspect. If it won’t broil, the broil element is the likely culprit. If neither works, the problem may lie elsewhere, like the thermostat or control board.
First, perform a simple visual inspection. Important: Unplug your oven from the wall or turn off its circuit breaker before you touch anything inside. With the oven off and cool, look closely at the bake element. Do you see any blisters, cracks, or a clean break in the black metal tubing? Any visible damage is a clear sign the element has failed and needs replacement. Do the same for the broil element at the top.
If they look okay, you can run a simple functional test. Plug the oven back in, set it to “Bake” at 350°F, and wait a few minutes. Carefully feel for heat near the bottom element (don’t touch it). You should also see it begin to glow a dull red. Turn the oven off. Now, set it to “Broil.” The top element should quickly begin to glow bright orange-red. If the broil element heats up but the bake element stayed cold, you’ve confirmed the bake element is faulty.
Replacing a bake element is often a manageable DIY task for homeowners comfortable with basic tools. But if both elements fail to heat, or if you’re not confident in performing the repair, it’s a good time to schedule a professional oven and stove repair service.
Gas oven: igniter glow test and what a weak igniter looks like
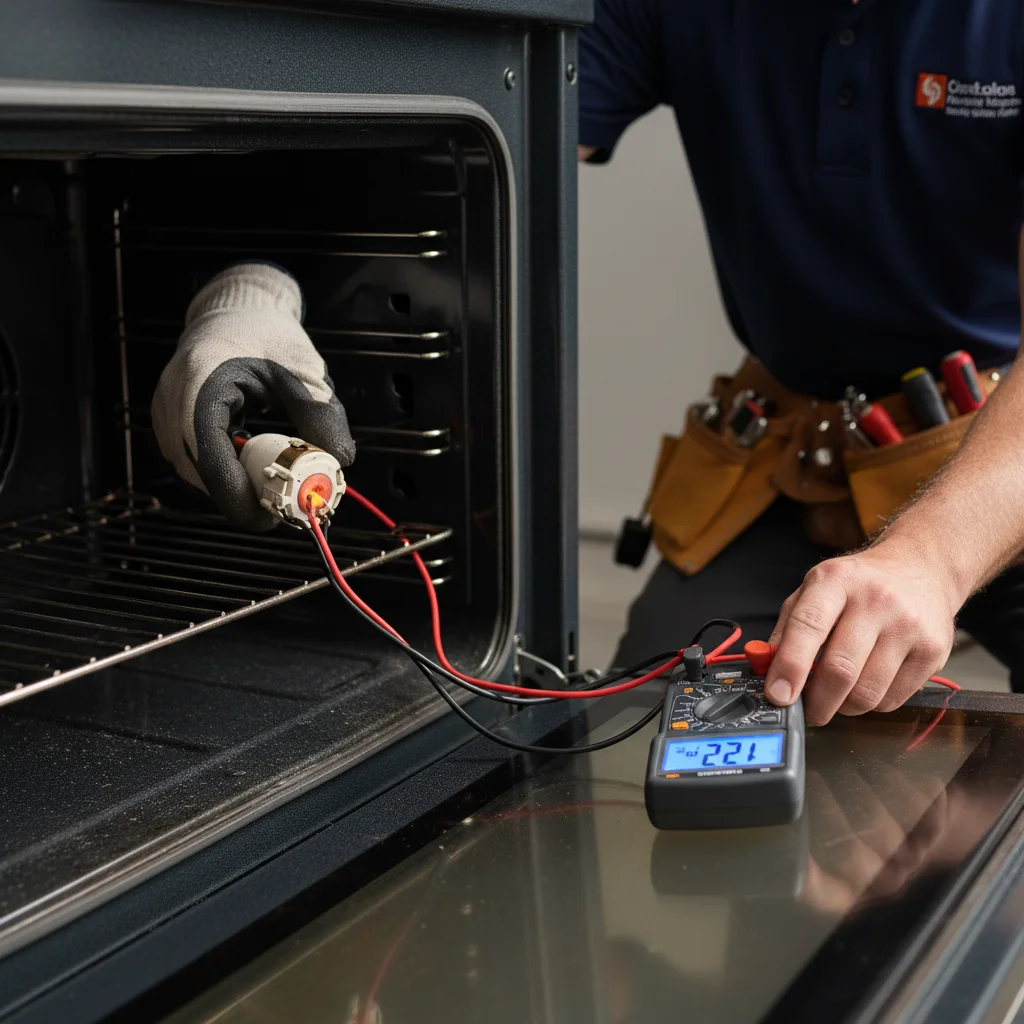
The most common reason a gas oven won’t heat up is a faulty igniter. The igniter in a gas oven has two jobs: it must get hot enough to glow and ignite the gas, and it must also get hot enough to draw sufficient electrical current to open the gas safety valve. This second job is where things often go wrong.
An igniter can still glow but be too “weak” to open the valve. This is a very common failure. The igniter needs to pull about 3.2 to 3.6 amps to signal the valve to open. As it ages, its resistance increases, and it can’t pull enough current, even if it still glows red.
You can diagnose this without any special tools. Set your oven to bake and look inside. You should see the igniter (a small, carborundum part, often in a metal cage) start to glow. It should reach a bright orange or yellowish-white color within about 30 to 90 seconds. Shortly after, you should hear a “whoosh” as the main burner ignites.
If the igniter only glows a dull red and the gas never comes on, you have a weak igniter. If the igniter doesn’t glow at all, it has failed completely or isn’t receiving power. In either case, the igniter needs to be replaced. While replacing a gas oven igniter is a common repair, it involves working with the gas system. We always recommend consulting our gas range safety checklist and considering professional help if you have any doubts about your ability to perform the work safely.
Control board and thermostat, when DIY ends
You’ve checked the power, inspected the heating elements, and watched the igniter. Everything seems to be working, but your oven is still cold. When the basic heating components check out, the problem likely lies with the oven’s “brain” or its senses: the electronic control board, the thermostat, or the temperature sensor.
The temperature sensor (or thermistor) is a small probe, usually located at the back of the oven cavity. It reads the internal temperature and sends that information to the control board. If the sensor fails, it might send an incorrect reading, telling the board the oven is already hot when it’s not. The control board, in turn, won’t send power to the heating elements or igniter.
The oven thermostat, often part of the main temperature control knob on older models, performs a similar function. It’s a switch that turns the heating elements on and off to maintain the set temperature. If it fails, it may never signal the elements to turn on in the first place.
The electronic control board (EOC) is the central computer. It governs all oven functions. A failure here can cause a wide range of symptoms, including a complete lack of heating. Diagnosing these components typically requires a multimeter and a technical understanding of electrical circuits. Replacing a control board can be expensive, and an incorrect diagnosis could lead you to replace a costly part unnecessarily. This is the point where DIY troubleshooting usually ends. If you suspect a sensor, thermostat, or board failure, it’s the right time to call a qualified appliance technician.
Why a calibrated oven thermometer changes everything
Sometimes, an oven that “won’t heat up” is actually heating, just not to the temperature you set. An oven that’s running 50 or 75 degrees too cold can ruin a recipe just as easily as one that doesn’t heat at all. Before you assume a major component has failed, invest a few dollars in a dedicated oven thermometer.
This simple tool can save you a lot of diagnostic headaches. Don’t trust the temperature on your oven’s display; it’s often an estimate, not a real-time reading of the internal cavity.
Here’s how to properly test your oven’s accuracy:
- Place the oven thermometer on the center rack. Don’t let it touch the oven walls.
- Preheat your oven to 350°F.
- Wait for the oven’s preheat light to go off, and then wait another 15-20 minutes for the temperature to stabilize. Ovens cycle on and off to maintain temperature, so you need to let it complete a few cycles.
- Check the reading on your thermometer through the oven door window.
If the thermometer reads 300°F when the oven is set to 350°F, you don’t have a “no heat” problem; you have a calibration or temperature regulation problem. This points away from a totally failed bake element and more towards a faulty temperature sensor or a thermostat that needs recalibration. Many ovens allow for user calibration (check your manual), which can often resolve minor discrepancies. If the temperature is off by more than 35-40 degrees, it likely indicates a failing sensor that needs to be replaced.
When the repair is worth it vs. replacing the range
When your oven breaks, you’re faced with a big question: should you repair it or replace the whole unit? The answer depends on the age of your appliance, the cost of the repair, and the price of a comparable new model. Making the right call can save you hundreds of dollars.
A good rule of thumb is the 50% rule. If the cost of the repair is more than 50% of the cost of a new, similar range, replacement is usually the smarter financial choice. For example, a common repair like replacing a gas oven igniter or an electric bake element might cost between $150 and $300, including parts and labor. This is a clear win for repair, as a new range can easily cost $800 to $2,000 or more.
However, if the diagnosis points to a failed electronic control board on a 12-year-old oven, the calculation changes. The part itself could be $400, and with labor, the total repair cost might approach $600. In that case, putting that money toward a new, more efficient appliance with a full warranty often makes more sense. Age is a major factor. Most modern ovens are designed to last about 10-15 years. If your appliance is nearing the end of its expected lifespan and is starting to have multiple issues, replacement becomes a more attractive option. For a deeper dive into this decision, our guide on whether to repair or replace an appliance can help you weigh the pros and cons for your specific situation.
Frequently asked questions
Why won’t my gas oven heat even though the igniter glows?
A glowing igniter that never lights the burner is usually a weak igniter, not a failed one. The igniter has to draw 3.2 to 3.6 amps to pull open the gas safety valve. As it ages its resistance rises, so it glows but can’t reach the current threshold. Replacing the igniter fixes this in one visit.
How do I know if my electric oven’s bake element is the problem?
Set the oven to Bake at 350°F and watch the bottom element after a few minutes. A working element glows dull red across its entire length. If part of it stays dark, or you see a visible crack or blister in the metal loop, the element has failed and needs replacement. This is one of the more straightforward electric oven repairs.
What does an oven thermostat do and how does it fail?
The thermostat (or temperature sensor on newer models) tells the control board when to cycle the heating elements on and off. A failed sensor can report that the oven is already at temperature when it isn’t, so the elements never fire. If your oven thermometer reads 50 or 75 degrees low and the elements look intact, a faulty sensor is the next thing to check.
When is it cheaper to replace a range than repair it?
Use the 50% rule. If the repair estimate is more than half the cost of a comparable new range, replacement is usually smarter. A gas igniter or electric bake element replacement runs $150 to $300 with labor, well below the $800 to $2,000 cost of a new range. A control board repair on a 12-year-old oven that quotes near $600 is a tougher call.
When to call us
If you’ve run through these checks and your oven still isn’t heating, or if you’ve pinpointed a problem with a gas component or an electronic board, it’s time to call in a professional. Working with 240-volt electricity or natural gas lines requires expertise and the right tools to ensure a safe and reliable repair. The team at Repair Pro San Diego is here to help homeowners across the county get their kitchens back up and running.
Call us at (858) 988-7787 for a same-day estimate.