A dryer that suddenly stops starting or heating may have a failed thermal fuse. Those symptoms aren’t proof, though. The fuse needs model-specific testing before anyone replaces it.
What a dryer thermal fuse does
A dryer thermal fuse is a small temperature-sensitive cutoff. Manufacturers place it within a dryer’s electrical protection system. Its location and exact circuit role depend on the model.
In many designs, the fuse normally allows electrical continuity. Exposure to temperature beyond its designed limit can cause it to open. That electrical change interrupts part of the dryer’s circuit.
The result varies because manufacturers wire dryers differently. One machine may stop producing heat. Another may refuse to start. A third may show behavior that overlaps with several unrelated failures. The model number and service documentation settle which result applies.
A thermal fuse also differs from a household circuit breaker. Resetting the breaker doesn’t reset an opened fuse. On designs using a one-time thermal fuse, the correct replacement must match the dryer’s model and manufacturer specifications.
The part itself doesn’t explain why the temperature changed. It only gives the technician a useful diagnostic clue. That distinction matters before ordering parts or assuming the dryer is fixed.
San Diego County homes also have varied dryer layouts. A stacked unit in an Oceanside condo may have different access than a dryer in an El Cajon garage. The vent route can also differ between the two. A technician should inspect the actual machine and installation instead of guessing from the symptom alone.
Symptoms that can point to a failed fuse
Dryer thermal fuse symptoms depend on where the fuse sits in the circuit. A dryer that won’t start may have an open fuse, but it could also have a door-switch, control, power, or motor-related problem. The phrase “dryer won’t start thermal fuse” describes one possibility, not a complete diagnosis.
Lack of heat can also put the fuse on the suspect list. Yet a no-heat complaint overlaps with several other components and operating conditions. Our broader dryer no-heat checklist explains those branches without treating one part as the automatic answer.
Pay attention to what the dryer still does. Note whether the drum turns, controls respond, or the problem began during a cycle. Write down any displayed code exactly. Don’t clear settings repeatedly before recording what happened. Those details help the matched technician choose the correct test path.
A fuse may look normal even when it has opened electrically. Visual inspection alone can’t confirm continuity. Dark marks elsewhere also don’t prove the fuse caused the trouble.
Model identification matters just as much as symptoms. Find the full model and serial information from the appliance label. Don’t order a part from appearance alone, since similar-looking components may have different specifications.
You can also check the exact model through the CPSC recall database. A recall lookup is separate from diagnosis, but it can reveal manufacturer instructions tied to that model.
How technicians confirm a failed thermal fuse
A qualified technician starts with the dryer disconnected from power. Testing inside an energized appliance isn’t a homeowner troubleshooting step. The technician then follows the service information for that exact model.
Access differs across dryers. The thermal fuse may sit near part of the exhaust or blower path, but its position shouldn’t be guessed. A service diagram, parts breakdown, or manufacturer procedure identifies the correct component.
Once the technician reaches it, they inspect the surrounding area and wiring. A loose connector, damaged terminal, or mistaken component can change the diagnosis. The fuse must be electrically isolated as directed before a meter reading can be trusted.
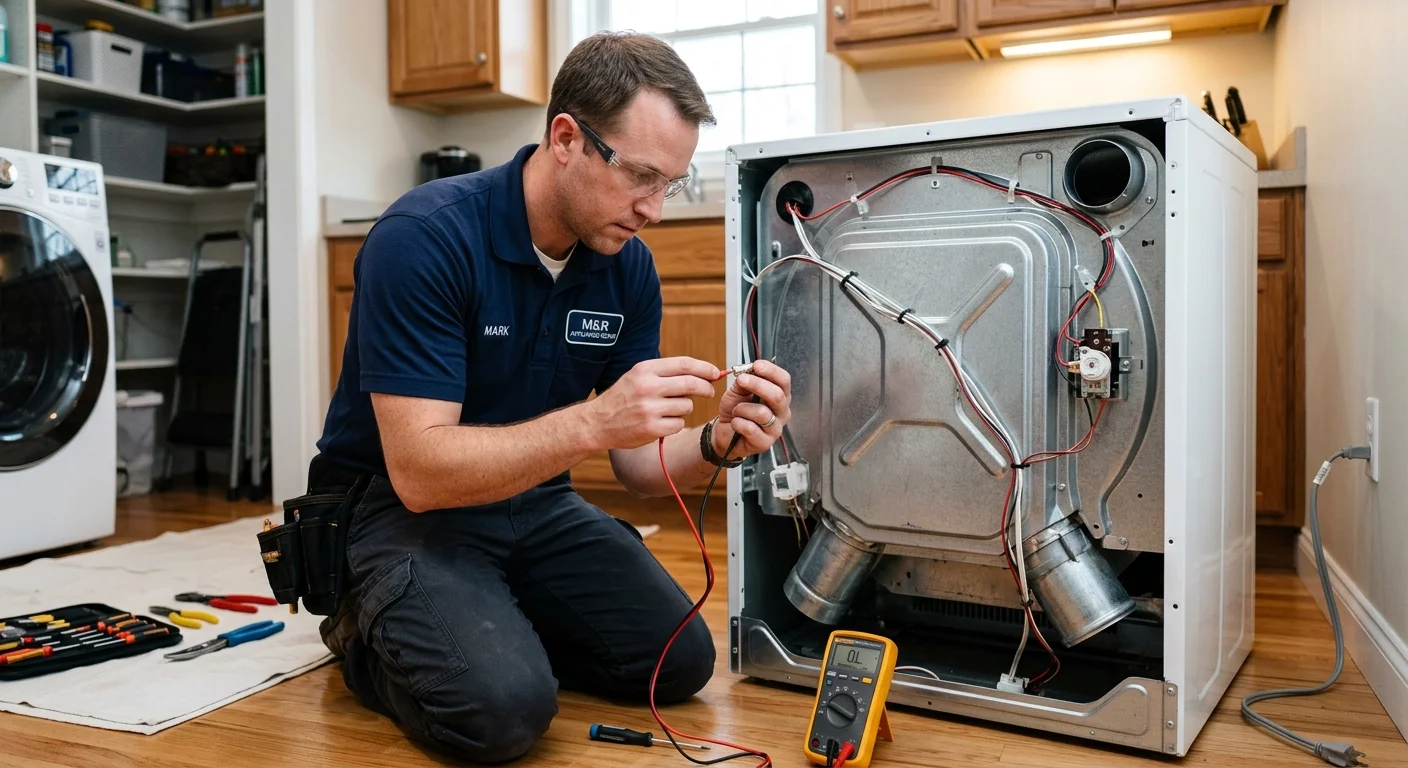
A continuity test checks whether the fuse still provides an electrical path. On a design where the fuse should normally be closed, a continuity reading supports an intact fuse. An open reading supports a failed fuse. The expected result must still come from that model’s documentation.
Meter setup also matters. A technician can verify the meter and test leads before interpreting the fuse reading. That step helps separate an open component from a poor probe connection or incorrect setting.
If the thermal fuse passes, diagnosis continues elsewhere. A technician may evaluate the circuit associated with the symptom. For a dryer that tumbles without heat, that path can differ from a machine that remains completely inactive. Our dryer heating element testing guide explains why element diagnosis needs its own checks.
Never bridge or bypass a thermal fuse to make the dryer run. That removes the component from the circuit instead of finding the fault.
Why replacing the fuse may not solve the cause
A confirmed open thermal fuse answers one question. It doesn’t automatically explain what caused the temperature condition. Replacing only the fuse may leave the larger problem unresolved.
The technician may examine the dryer’s internal airflow path, blower area, exhaust connection, and vent route. They may also check temperature-related controls and wiring identified by the manufacturer. The findings determine whether the fuse was the only failed part or one result of another fault.
Lint and airflow deserve careful inspection, but neither should be blamed without evidence. A bent connection, blocked passage, installation issue, or component problem may produce overlapping symptoms. The actual cause can’t be selected from a generic checklist.
Vent conditions also vary across San Diego County. A laundry closet in Chula Vista may use a concealed route. A City Heights garage installation may expose more of the duct. Those are possible layouts, not neighborhood rules. The technician needs to inspect the full route serving that dryer.
Our dryer vent safety guide covers vent inspection in more detail. It complements thermal fuse diagnosis without turning every no-start or no-heat problem into a vent diagnosis.
Before approving a repair, ask what testing confirmed the fuse failure. Then ask what the technician found around the airflow path and related controls. The answer should connect the meter result, model documentation, and observed condition. Replacing a part without that explanation can leave you uncertain about the original cause.
When to arrange dryer repair
Arrange professional diagnosis when the dryer won’t start, runs without heat, or repeats the same failure after a fuse replacement. The same applies when you can’t confirm the model-specific test procedure or safely reach the component.
Bring the model number and a short symptom history. Mention what still works, what stopped, and any code shown. If someone previously replaced the fuse, tell the technician when the same behavior returned.
A qualified pro can test the fuse, trace the relevant circuit, and inspect related conditions. Ask for the diagnosis and written quote before authorizing work. Repair Pro San Diego has no repair fee schedule because it’s a referral service. The independent technician sets the price and terms.
For California service dealers, the Department of Consumer Affairs provides a registration lookup. You can use it to confirm current registration details before work begins. Repair Pro San Diego matches homeowners across the county with insured independent technicians.
Our dryer repair service can help when the fault needs hands-on testing. The matched pro performs the diagnosis and repair. Repair Pro San Diego doesn’t test components, stock parts, or perform physical work.
When to call us
A no-start dryer, repeated fuse failure, or uncertain meter result needs an appliance repair pro. Leave a voicemail at (858) 988-7787, and Repair Pro San Diego can match you with a local technician.