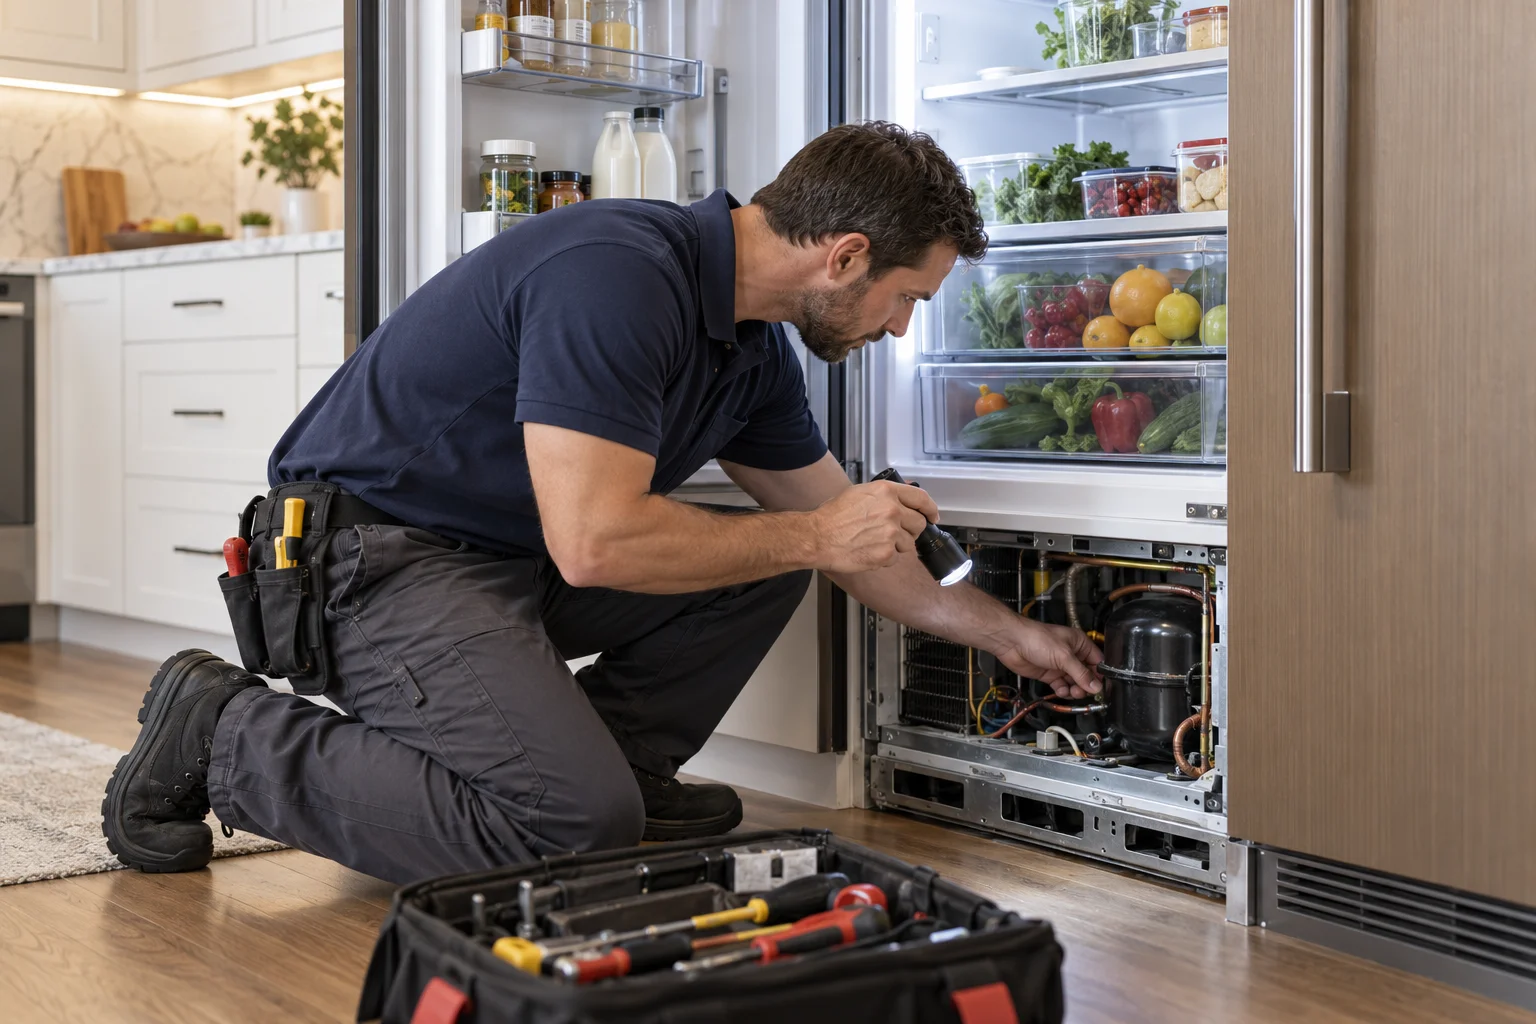
A warm Sub-Zero needs diagnosis before anyone orders parts. Confirm which compartment is warming, protect the food, and record what changed before requesting repair.
The FDA says a refrigerator should stay at or below 40°F. Perishable food held above 40°F for more than two hours should be discarded. Keep the doors closed while you assess the problem.
Confirm the model and exact cooling pattern
Start with the model number and the affected compartment. Depending on the model, a Sub-Zero may have separate fresh-food, freezer, drawer, or wine-storage sections. Don’t assume every warm section has the same cause.
Write down what you’re seeing:
- The displayed temperature and a separate thermometer reading
- Whether the refrigerator, freezer, or both feel warm
- Whether temperatures rise continuously or swing up and down
- Any message, code, or symbol on the display
- New sounds, silence, vibration, frost, moisture, or odors
- The date and approximate time the problem began
- Any recent outage, cleaning, cabinet work, or door adjustment
Take a clear photo of the model and serial label. Its location varies, so check the owner’s material rather than removing trim or panels. That identification helps a technician research the correct configuration and parts.
A display setting isn’t proof of the actual food temperature. Place an appliance thermometer inside and record the reading without repeatedly opening the door. The practical guidance is around 37°F for fresh food, while the FDA ceiling is 40°F. A freezer should remain at or below 0°F.
If only the fresh-food side is warm, note whether the freezer still holds 0°F. If both sections are warming, record which changed first. Those details make this complaint more useful than simply reporting that the unit “isn’t cold.”
Our broader fridge not cooling checklist covers common household refrigerators. This page stays focused on the built-in fit and cooling pattern that matter during Sub-Zero refrigerator repair.
What owners can record without opening panels
Useful observations don’t require tools or disassembly. Leave internal panels, wiring, refrigerant lines, and fitted trim in place. A built-in refrigerator can be heavy and closely integrated with surrounding cabinetry.
Check each door from several angles. Note whether it sits evenly and closes without help. Look for packages, shelves, or containers that prevent full closure. Photograph visible gaps, torn sealing material, condensation, or frost around the opening.
Next, listen without deciding what the sound means. Record when humming, clicking, rattling, or fan noise starts and stops. A short phone video can preserve an intermittent sound for the technician. Silence also matters when the unit usually makes noticeable operating sounds.
Look at the accessible grille area without removing it. Note visible dust, blocked openings, or objects pressed against ventilation space. Don’t insert a vacuum attachment, brush, or hand into an opening unless the current manufacturer instructions specifically permit that procedure for your model.
Also record what the display and interior lights do. If the appliance appears completely unpowered, check whether other devices in the room have power. Don’t pull a fitted unit forward to reach a hidden outlet. Don’t repeatedly reset a breaker or power-cycle the refrigerator while it’s behaving unpredictably.
For food safety, use time and measured temperature rather than smell alone. The FDA’s two-hour discard rule applies to perishables held above 40°F. Move food to confirmed cold storage when available, then keep the refrigerator doors closed.
Check the exact model through current Sub-Zero owner material. You can also search the CPSC recall database by brand and model. This doesn’t mean your refrigerator has a recall. It’s simply the authority to check.
How built-in fit and airflow enter diagnosis
A built-in refrigerator doesn’t operate independently of its opening. Cabinet depth, trim, grille clearance, and nearby heat all become part of the cooling investigation. That’s why a technician should see the installed condition before recommending a part.
Start with recent changes. New cabinet panels, flooring, painting, remodeling, or cleaning may coincide with the complaint. A shifted panel could affect door movement. Stored items may cover an opening. Dust may be visible near an accessible grille. Record the change, but don’t assume it caused the failure.
San Diego County also brings varied kitchen settings. Coastal homes from Oceanside through Coronado may have different room conditions than inland homes around Escondido or El Cajon. The useful facts are the measured room conditions and the installation itself, not a broad assumption based on ZIP code.
Note whether direct afternoon sun reaches the doors. Record nearby cooking activity and whether the room recently became warmer. A technician can compare those conditions with the appliance’s behavior and its model-specific installation requirements.
Panel-ready doors deserve a close visual check. Look for rubbing, uneven spacing, loose-looking hardware, or a door that rebounds after closing. Don’t adjust hinges or decorative panels without the correct instructions. A heavy panel can complicate an otherwise simple door-closing complaint.
Airflow requirements vary by model and installation. We couldn’t confirm one universal clearance figure for every Sub-Zero refrigerator from the approved information provided for this article. Check the current installation guide for the exact model, or ask the matched technician to compare the opening against that guide.
For wider brand coverage, see our Sub-Zero refrigerator repair guide for San Diego. It covers service planning beyond this one cooling complaint.
What technicians inspect on a warm Sub-Zero unit
The technician begins by confirming the complaint. That means comparing actual temperatures, display information, compartment behavior, and the owner’s timeline. The goal is to isolate the failed function before replacing anything.
Depending on the model and symptoms, the inspection may cover:
- Door closure, sealing surfaces, hinges, and fitted panels
- Accessible ventilation and the installed cabinet opening
- Temperature controls, sensors, and displayed messages
- Fans and airflow paths
- Frost or moisture patterns
- Defrost-related components
- Electrical connections and control components
- Compressor operation and sealed-system performance
This list isn’t a diagnosis. Similar symptoms can come from different causes. A warm fresh-food compartment with a cold freezer calls for different testing than a unit where every section is warming.
Refrigerant work requires added qualifications. Technicians who connect gauges, add or remove refrigerant, or otherwise open a refrigerant circuit must hold the applicable EPA Section 608 certification. The independent pros in our network who perform sealed-system work are certified for it.
Ask the technician to identify the failed part or condition in writing. The quote should separate the diagnosis from the proposed repair and explain any model-specific parts concern. Repair Pro San Diego has no parts inventory, repair price, or diagnostic-fee policy. The matched technician sets those terms.
The cost of Sub-Zero fridge repair can’t be confirmed from the symptom alone. Access, diagnosis, parts, built-in panels, and sealed-system involvement can change the scope. The matched technician diagnoses first and quotes in writing before work begins.
You can request proof of the service dealer’s current California registration through the Department of Consumer Affairs lookup. That registration is separate from technical certification and doesn’t demonstrate individual repair skill.
When to request Sub-Zero refrigerator repair
Request professional diagnosis when measured temperatures remain unsafe, cooling declines again after a setting check, or one compartment behaves differently from another. Visible moisture, repeated frost, persistent codes, unusual sounds, or complete loss of power also deserve a model-specific assessment.
Have these details ready:
- Model and serial information
- Actual thermometer readings
- Which compartments are affected
- Photos of the display, doors, grille, and visible frost
- A timeline of the temperature change
- Recent outages, remodeling, cleaning, or panel work
- Purchase and warranty documents, if available
Warranty coverage can’t be determined from the brand name or appliance age alone. Check the paperwork supplied with the refrigerator and current Sub-Zero warranty material. If coverage might apply, ask who must perform the diagnosis before authorizing independent work. Don’t assume a referral technician is manufacturer-authorized.
We also couldn’t confirm a reliable average Sub-Zero lifespan from the approved primary-source material. Condition, installation, maintenance history, and the specific failure matter more than an unsupported age rule. Ask the technician for the diagnosis, written quote, and parts outlook. Then compare that information with the cost and fit of a suitable replacement.
A refrigerator repair technician or registered appliance service dealer is the type of professional who handles this work. Repair Pro San Diego connects homeowners across the county with licensed, insured independent technicians. Our refrigerator and freezer repair referral service explains that process. For broader local planning, see the San Diego refrigerator repair guide.
When to call us
Call when your Sub-Zero won’t hold a safe temperature or needs testing beyond owner-level observations. We can match you with a licensed, insured independent appliance repair pro who diagnoses and performs the work.
Call (858) 988-7787 to leave a voicemail requesting a match with a local appliance repair pro.